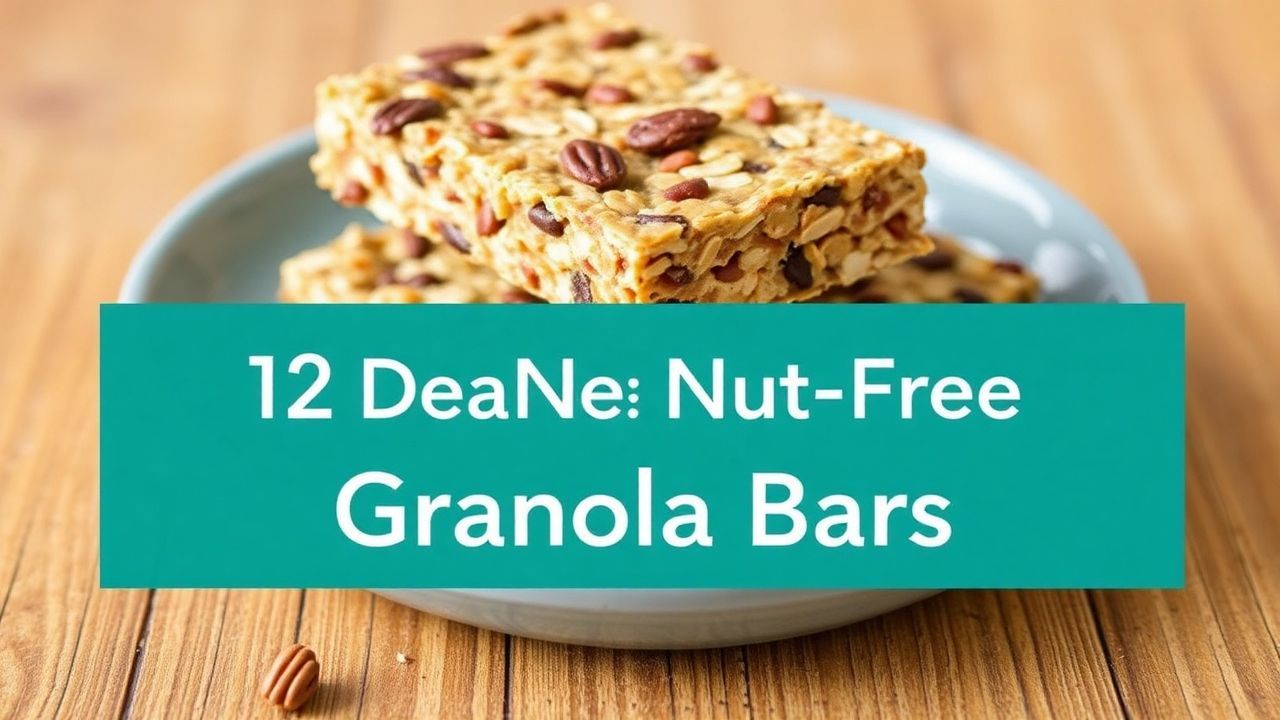
Crunchy & Sweet: Easy Nut-Free Granola Bars Recipe Guide
When hunger strikes between meals, nothing hits the spot quite like a crunchy, sweet, and satisfying snack. But what if you—or someone you’re making snacks for—can’t have nuts? Enter the world of nut-free granola bars: a delightful twist on the classic treat that keeps all the texture and flavor without the worry of allergens.
- Crunchy & Sweet: Easy Nut-Free Granola Bars Recipe Guide
- Recipe Overview: Nut-Free Granola Bars
- Essential Ingredients for Nut-Free Bars
- Crafting Your Nut-Free Granola Bars: Step-by-Step
- Expert Tips for Perfect Nut-Free Granola Bars
- Serving Suggestions for Nut-Free Granola Bars
- Frequently Asked Questions: Nut-Free Granola Bars
- Q1: What makes these granola bars different from traditional recipes?
- Q2: Can I customize the bars to fit my taste preferences?
- Q3: How do these bars stay together without nuts?
- Q4: Are these granola bars healthy?
- Q5: How long will these bars stay fresh?
- Q6: Can kids help make these bars?
- Q7: What’s the best way to enjoy these bars?
- Q8: Can I make these bars gluten-free?
- To Wrap It Up: Your Go-To Nut-Free Granola Bar Recipe
In this guide, we’ll dive into easy, wholesome recipes that combine golden oats, natural sweeteners, and a medley of seeds, dried fruits, and spices to create bars that are as nourishing as they are delicious. Whether you’re packing lunches, fueling up for adventures, or just craving a quick bite, these nut-free granola bars promise a crunchy and sweet snack experience everyone can enjoy.
- Nut-Free Solution: Perfect for those with nut allergies, offering safe enjoyment.
- Simple Ingredients: Utilizes readily available pantry staples for easy preparation.
- Customizable: Easily adaptable to personal taste preferences with various add-ins.
- Quick Preparation: Ready to bake in under 20 minutes, ideal for busy schedules.
Recipe Overview: Nut-Free Granola Bars
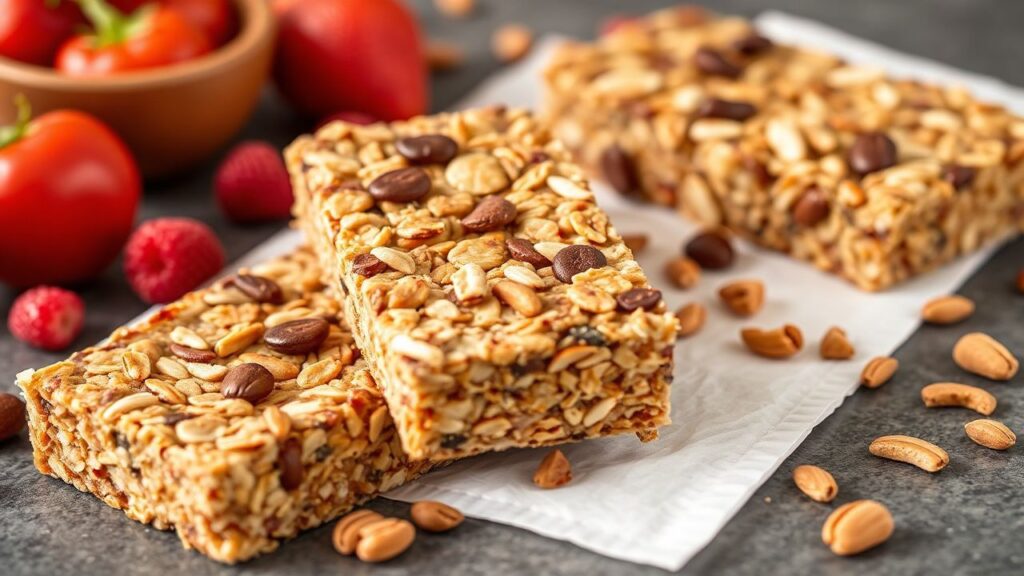
This recipe celebrates the art of perfecting texture and flavor in a wholesome snack that’s safe for those with nut allergies. These bars blend crispy oats with naturally sweet, allergy-friendly ingredients that delight the palate and energize your day. They are proof of smart ingredient choices.
Whether you’re preparing them for school lunches, a hiking trip, or a simple grab-and-go treat, these bars promise a satisfying crunch paired with the ideal sweetness—without compromising on taste or nutrition. They are a versatile addition to any snack repertoire.
Prep and Cook Time
Preparation: 15 minutes
Baking: 25 minutes
Total: 40 minutes
Yield
Approximately 12 bars (2 x 3-inch pieces)
Difficulty Level
Easy – Perfect for first-time bakers and busy households.
Essential Ingredients for Nut-Free Bars
Gathering your ingredients is the first step to creating these delightful nut-free granola bars. The foundation of these bars relies on wholesome grains and a careful selection of binders and flavor enhancers. This ensures everyone can enjoy a delicious snack.
Ensuring each component is nut-free is paramount for allergy safety, making this recipe a go-to for sensitive individuals. You’ll find these ingredients are commonly found in most pantries.
- 2 cups rolled oats (certified gluten-free if preferred)
- 1 cup crispy rice cereal (ensure nut-free certification)
- 1/2 cup unsweetened shredded coconut
- 1/3 cup pumpkin seeds (pepitas)
- 1/4 cup sunflower seeds
- 1/4 cup dried cranberries, chopped
- 1/2 cup honey or pure maple syrup (choose your favorite natural sweetener)
- 1/4 cup unsweetened applesauce
- 1/4 cup sunflower seed butter or soy nut butter
- 1 tsp vanilla extract
- 1/2 tsp ground cinnamon
- 1/4 tsp fine sea salt
Crafting Your Nut-Free Granola Bars: Step-by-Step
Follow these straightforward instructions to bake your own batch of irresistible nut-free granola bars. The process is designed to be simple, ensuring even novice bakers can achieve perfect results. These steps guide you through each stage of preparation.
Key to success is the firm pressing of the mixture, which guarantees the bars hold their shape and develop a satisfying crunch. This technique is essential for a cohesive final product.
- Preheat your oven to 350°F (175°C). Line a 9×9-inch baking pan with parchment paper, allowing it to overhang on two sides for easy removal later. This preparation step is crucial for a clean release after baking.
- Combine dry ingredients in a large bowl. Add the rolled oats, crispy rice cereal, shredded coconut, pumpkin seeds, sunflower seeds, and dried cranberries. Gently toss them together to ensure an even distribution of all components.
- Prepare the wet binder mixture. In a small saucepan, gently warm the honey (or maple syrup), unsweetened applesauce, and sunflower seed butter over medium-low heat. Stir this continuously until the mixture is smooth and thoroughly combined, which typically takes about 3 minutes.
- Infuse flavor into the wet ingredients. Remove the saucepan from the heat. Stir in the vanilla extract, ground cinnamon, and fine sea salt. This step adds the aromatic and savory notes that complement the sweetness beautifully.
- Combine wet and dry mixtures. Pour the warm, fragrant liquid mixture over the dry ingredients in the large bowl. Using a sturdy spoon or spatula, carefully fold everything together. Ensure that every dry ingredient is thoroughly coated with the sticky sweetener blend for uniform flavor distribution.
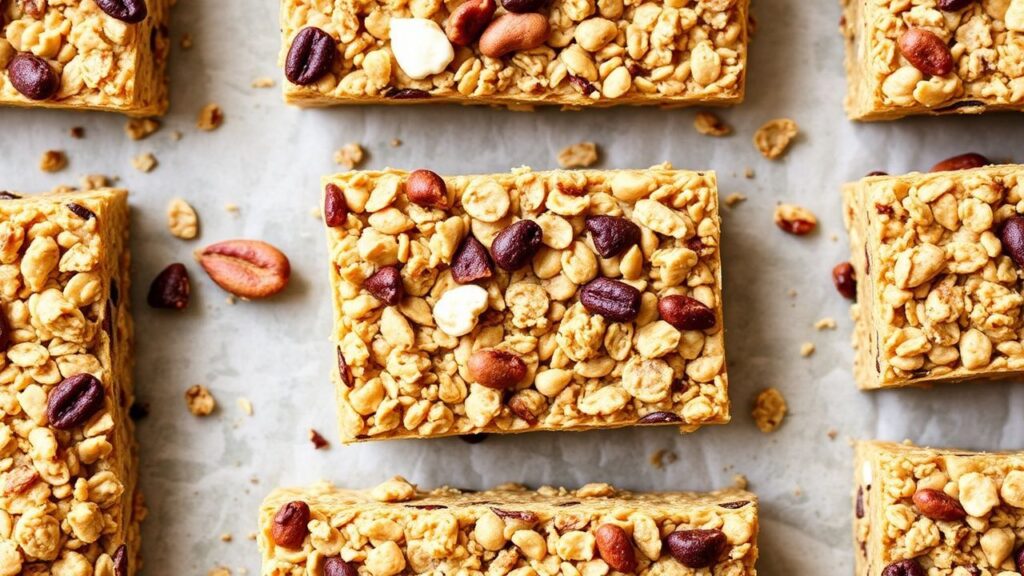
- Press the mixture into the pan. Transfer the combined mixture into your prepared baking pan. Press it down very firmly and evenly. Employing a piece of parchment paper or the back of a spatula helps compact the mixture tightly. This is essential for achieving that coveted crunchy texture and preventing crumbling.
- Bake until golden. Place the pan in the preheated oven and bake for 20-25 minutes. The bars are ready when the edges turn a golden brown and the center appears set but not overly hard. Watch closely to prevent overbaking, as this can affect texture.
- Cool completely before cutting. Allow the baked slab to cool entirely in the pan on a wire rack. Once completely cool, use the parchment overhang to lift the slab out of the pan. Cut into 12 bars or squares using a sharp knife for neat portions.
- Store for future enjoyment. To keep your nut-free granola bars fresh, store them in an airtight container at room temperature for up to a week. For longer preservation, freeze them for up to three months, making them perfect for preparing ahead of time and enjoying whenever a craving strikes.
Expert Tips for Perfect Nut-Free Granola Bars
Achieving the ideal texture and flavor in your homemade nut-free granola bars is simplified with a few expert techniques. These tips address common challenges and offer insights into customization, ensuring your bars are always a success. Mastering these nuances elevates your baking.
From selecting the right sweetener to ensuring optimal binding, these pointers are invaluable for any home baker. They offer practical advice for consistent, delicious results every time you bake.
- Sweetener Choice Matters: Honey provides a mild, floral sweetness and aids in binding the ingredients, contributing to a chewier bar. Maple syrup, on the other hand, offers a deeper, caramel-like flavor profile. For those seeking vegan options, always opt for pure maple syrup, as honey is an animal product. Learn more about the properties of sweeteners.
- Enhance Texture with Add-ins: For an exciting boost in crunch and visual appeal, consider adding puffed millet or quinoa to the dry ingredient mix. These small grains contribute a delightful crispness that complements the oats and seeds. They add a sophisticated texture.
- The Power of Firm Pressing: The most critical step for ensuring your bars hold their shape and achieve a satisfying crunch is to press the mixture very firmly into the baking pan. This compacts the ingredients, minimizing air pockets and creating a cohesive structure that resists crumbling. Proper compaction is key.
- Seed and Ingredient Substitutions: Feel free to experiment with different seeds. Roasted chickpeas can offer a unique texture, or if pumpkin seeds aren’t available, another type of pepita can be used. The goal is to maintain a balance of textures and flavors. Variety keeps things interesting.
- Make-Ahead and Freeze for Convenience: These bars freeze exceptionally well. Baking a large batch and then freezing individual bars makes them incredibly convenient for packing into lunchboxes or providing a quick post-workout snack. Simply thaw them overnight in the refrigerator. This makes busy mornings much easier.
Serving Suggestions for Nut-Free Granola Bars
Elevate the enjoyment of your homemade nut-free granola bars with thoughtful serving accompaniments. These bars are versatile enough to be a standalone treat or a component of a larger meal. They adapt well to various occasions and preferences.
Consider how pairings can enhance their flavor and nutritional profile for different events. From breakfast to snacks, these bars are a perfect fit. They pair well with both sweet and savory items.
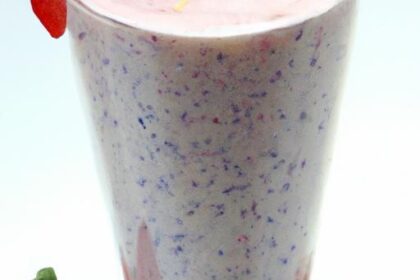
Serve your nut-free granola bars alongside a fresh bowl of mixed berries or a dollop of Greek yogurt to enhance their sweet and savory notes. For a complete breakfast on the go, wrap each bar individually in parchment paper and pair it with a chilled almond milk or your favorite dairy-free beverage. A light dusting of powdered cinnamon or a drizzle of melted dark chocolate adds a beautiful final touch, transforming your simple snack into something visually appealing and gourmet-worthy.
These bars are perfect for a quick breakfast, a midday energy boost, or a post-exercise recovery snack. They pair wonderfully with a glass of milk, a warm cup of tea, or even just a refreshing glass of water. Consider them your reliable, crunchy, and sweet companion for any moment hunger calls.
Nutritional Information Per Bar
| Nutrient | Per Bar |
|---|---|
| Calories | 180 kcal |
| Protein | 4 g |
| Carbohydrates | 28 g |
| Fat | 6 g |
For more allergy-friendly baking inspiration, explore our curated collection. To gain a deeper understanding of natural sweeteners and their associated health benefits, consult reputable sources like the Healthline guide to natural sweeteners.
Frequently Asked Questions: Nut-Free Granola Bars
Q1: What makes these granola bars different from traditional recipes?
Unlike typical granola bars that rely heavily on nuts for texture and binding, this recipe skips them entirely. It’s specifically formulated to be ideal for individuals with nut allergies or anyone seeking a nut-free snack option. Instead, it ingeniously uses a blend of seeds, dried fruits, and natural sweeteners to deliver that same satisfying crunch and sweet flavor profile.
Q2: Can I customize the bars to fit my taste preferences?
Absolutely! The inherent versatility of this recipe is one of its greatest strengths, allowing for extensive customization. Feel free to swap out the dried cranberries for raisins, or introduce different seeds like sesame seeds instead of pumpkin or sunflower. You can even drizzle in some dark chocolate chips for an extra treat. The core base remains consistent, so you have the freedom to get creative with your add-ins.
Q3: How do these bars stay together without nuts?
The structural integrity of these bars is achieved through a clever combination of binding agents. The primary binders include a sticky sweetener like honey or maple syrup, along with a moist ingredient such as unsweetened applesauce. This blend works together to hold all the other ingredients firmly in place, ensuring the bars remain cohesive and chewy rather than crumbly.
Q4: Are these granola bars healthy?
Yes, they are considered a wholesome snack option. They are packed with beneficial fiber derived from the oats and seeds, and they utilize natural sugars from dried fruits rather than refined sugars. Importantly, they contain no added artificial flavors or preservatives. These bars strike a happy balance between delivering a satisfying crunchy texture and a pleasant sweetness without an excessive sugar content.
Q5: How long will these bars stay fresh?
When properly stored in an airtight container at room temperature, these homemade granola bars remain fresh and retain their chewy texture for approximately 5 days. For extended shelf life, you can store them in the refrigerator, where they will typically last up to two weeks. Freezing is also an excellent option for long-term freshness, preserving them for several months.
Q6: Can kids help make these bars?
Definitely! This recipe is designed with simplicity and safety in mind, making it perfectly suitable for little hands to assist with. Children can actively participate in measuring ingredients, mixing the components, pressing the mixture into the pan, and even decorating the finished bars with their favorite dried fruits. This makes the snack-making process as enjoyable as it is delicious.
Q7: What’s the best way to enjoy these bars?
These bars are incredibly versatile and perfect for a variety of occasions. Enjoy them on the go, as a satisfying after-school snack for children, or as a quick breakfast boost to start your day. They pair wonderfully with a glass of milk, a comforting cup of tea, or simply a refreshing gulp of water. They truly serve as your crunchy, sweet companion whenever hunger strikes.
Q8: Can I make these bars gluten-free?
Yes, absolutely! Achieving a gluten-free version of these bars is straightforward. Simply substitute regular oats with certified gluten-free oats. It’s also essential to double-check that all your other ingredients, such as the crispy rice cereal and any added flavorings, are free from gluten contamination. This ensures you can enjoy delicious nut-free and gluten-free bars without sacrificing taste or texture.
To Wrap It Up: Your Go-To Nut-Free Granola Bar Recipe
Whether you’re craving a quick breakfast, a midday pick-me-up, or a wholesome snack on the go, these crunchy and sweet nut-free granola bars have got you covered. Packed with flavor, satisfying texture, and essential nutrition, they prove that delicious treats don’t need to rely on allergens or complicated ingredients.
Give this easy recipe guide a try, and discover how simple it is to create your own personalized bars, perfectly suited to your taste and lifestyle. Crunch into health, sweetness, and homemade goodness, all in one satisfying bite! The simplicity of this recipe makes it a winner for all occasions.
See also: nut-free granola bars


