Unlock the Magic of Red Velvet: A Collaborative Baking Adventure
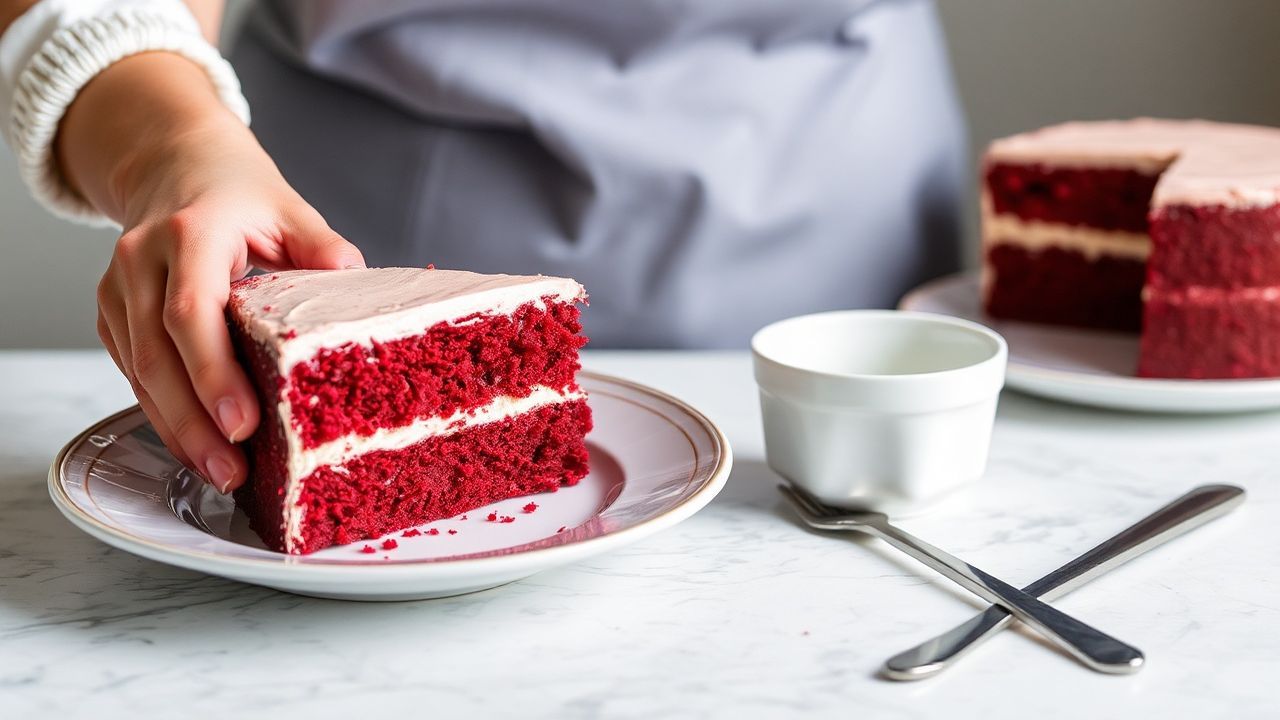
In the heart of every kitchen, a special kind of magic unfolds when simple ingredients like flour, sugar, and eggs dance together. Few recipes capture this enchantment like the red velvet cake. It’s a velvety symphony of rich flavors, vibrant hues, and a tender crumb that delights the senses. “Whisking Wonders: Baking a Red Velvet Cake Together” is your invitation to a culinary journey where collaboration and creativity blend seamlessly. Whether you’re a seasoned baker or a curious novice, join us as we unveil the secrets behind this beloved confection.
- Unlock the Magic of Red Velvet: A Collaborative Baking Adventure
- Red Velvet Cake: A Delectable Southern Classic
- Essential Baking Details for Red Velvet
- Gather Your Red Velvet Ingredients
- Step-by-Step Red Velvet Baking Instructions
- Expert Tips for Baking Success
- Elevate Your Red Velvet Presentation
- Nutritional Snapshot
- Explore More Baking Delights
- Frequently Asked Questions About Red Velvet Cake
- Q1: What makes a red velvet cake truly special compared to other cakes?
- Q2: Why is baking a red velvet cake together such a wonderful activity?
- Q3: What are the key ingredients that bring a red velvet cake to life?
- Q4: Can you share a baking tip for achieving the perfect cake texture?
- Q5: How do you know when a red velvet cake is baked just right?
- Q6: What’s the best way to decorate a red velvet cake for a shared celebration?
- Q7: Any final thoughts on the joy of baking a red velvet cake together?
- The Lasting Sweetness of Shared Baking
- Bake a stunning Red Velvet cake collaboratively, creating sweet memories.
- Master the art of achieving its signature vibrant red hue and tender crumb.
- Discover expert tips for perfect texture and irresistible cream cheese frosting.
- Transform everyday moments into celebrations with this classic American dessert.
Red Velvet Cake: A Delectable Southern Classic
This guide invites you into a world where mixing and baking culminate in a stunning, velvety dessert. Red velvet cake, rooted in Southern tradition, carries a richness that’s both nostalgic and striking. Its signature vibrant red hue and subtle cocoa undertones make it instantly recognizable and utterly irresistible. This classic American cake offers a unique flavor profile, distinct from other chocolate cakes.
Whether this is your first time blending these ingredients or you’re looking to refine your technique, this guide promises a fulfilling, joyous baking experience. It transforms every step into a shared celebration of flavor and texture. Embracing the collaborative spirit makes the process even more rewarding, turning a simple recipe into a cherished activity.
Essential Baking Details for Red Velvet
Understanding the time commitment and difficulty level ensures you’re well-prepared for this delightful baking project. Proper preparation and execution are key to achieving that signature red velvet texture and appearance.
Prep and Cook Time Breakdown
- Preparation: 20 minutes
- Baking: 30 minutes
- Cooling and Frosting: 40 minutes
- Total Time: 1 hour 30 minutes
Yield and Servings
This recipe is designed to serve a crowd, making it perfect for gatherings and celebrations. It yields approximately 10-12 generous slices.
Difficulty Level Explained
The difficulty level is rated as Medium. This makes it an excellent choice for bakers with some familiarity with cake recipes. It’s especially perfect for baking enthusiasts ready to explore the nuances of creating layered cakes and perfecting frosting techniques.
Gather Your Red Velvet Ingredients
The quality and specific type of ingredients matter significantly in achieving the perfect red velvet cake. Using room temperature ingredients and sifted dry components ensures a smoother batter and a lighter cake.
- 2 ½ cups all-purpose flour, sifted
- 1 ½ cups granulated sugar
- 1 teaspoon baking soda
- 1 teaspoon fine salt
- 1 teaspoon cocoa powder, unsweetened
- 1 ½ cups vegetable oil
- 1 cup buttermilk, room temperature
- 2 large eggs, room temperature
- 2 tablespoons red food coloring (gel recommended for vibrancy)
- 1 teaspoon vanilla extract
- 1 teaspoon white vinegar
For the Cream Cheese Frosting:
- ¾ cup cream cheese, softened
- ½ cup unsalted butter, softened
- 4 cups powdered sugar, sifted
- 1 teaspoon vanilla extract
Step-by-Step Red Velvet Baking Instructions
Follow these detailed instructions to create your stunning red velvet cake. Precision in each step ensures a beautiful final product.
- Prepare Your Pans and Preheat the Oven: Begin by greasing two 9-inch round cake pans. Line the bottoms with parchment paper for easy removal. Preheat your oven to 350°F (175°C) to ensure an even and consistent bake from the moment the cakes enter the oven.
- Mix the Dry Ingredients: In a large bowl, thoroughly whisk together the sifted all-purpose flour, granulated sugar, baking soda, fine salt, and unsweetened cocoa powder. This step is vital for ensuring an even distribution of all dry components, which contributes to the perfect crumb structure and flavor balance.
- Combine the Wet Ingredients: In a separate, medium-sized bowl, whisk together the vegetable oil, room temperature buttermilk, large eggs, vibrant red food coloring, vanilla extract, and white vinegar. Blend these ingredients until they are smoothly incorporated and achieve a striking, uniform red color.
- Blend Wet into Dry: Gradually add the wet ingredient mixture to the bowl containing the dry ingredients. Gently mix using a spatula or a whisk. Stir just until the ingredients are smoothly combined; it’s crucial to avoid overmixing, as this can lead to a dense and tough cake texture. Aim for a luscious, thick batter that flows easily.
- Pour and Bake: Evenly divide the prepared batter between the two greased and lined cake pans. Tap the pans lightly on your countertop to release any trapped air bubbles, which can create large holes in the cake. Bake for approximately 30 minutes. To check for doneness, insert a toothpick near the center; it should come out clean but moist with a few crumbs attached.
- Cool Completely: Allow the baked cake layers to rest in their pans for about 10 minutes before inverting them onto wire racks. Ensure the cakes cool thoroughly before attempting to frost them. Frosting warm cake will cause the frosting to melt and the layers to slide, ruining the presentation and texture.
- Craft the Cream Cheese Frosting: In a large mixing bowl, beat the softened cream cheese and softened unsalted butter together until they achieve a creamy and light consistency. Gradually add the sifted powdered sugar, beating on a low speed to prevent clouds of sugar from escaping the bowl. Once the sugar is incorporated, add the vanilla extract and continue beating until the frosting is smooth, creamy, and perfectly spreadable.
- Assemble the Cake: Place one cooled cake layer onto your serving plate or cake stand. Spread a generous, even layer of the prepared cream cheese frosting over the top of this first layer. Carefully place the second cake layer on top of the frosting. Apply the remaining frosting to the top and sides of the entire cake, using an offset spatula to create beautiful swirls or achieve a smooth, polished finish.
Expert Tips for Baking Success
Achieving that perfect red velvet texture and flavor is an art. These expert tips will help you overcome common challenges and ensure a spectacular result every time.
- Ingredient Temperature Matters: Ensure all wet ingredients, particularly buttermilk and eggs, are at room temperature. This allows them to emulsify more effectively with the fats, leading to a smoother batter and optimal rise in the oven. Cold ingredients can cause the batter to curdle or bake unevenly.
- Use Gel Food Coloring: Opt for gel food coloring over liquid versions. Gel coloring is highly concentrated, providing an intense, vibrant red hue without adding excess liquid that could alter the batter’s consistency. This prevents thinning and ensures the color remains rich and deep.
- Avoid Overmixing the Batter: This is a critical step for a tender crumb. Mix the wet and dry ingredients only until they are just combined. Overworking the gluten in the flour develops toughness, resulting in a dense cake. Gentle folding preserves the delicate texture characteristic of red velvet.
- Make-Ahead Tip: For convenient baking, you can freeze the unfrosted cake layers. Wrap them tightly in plastic wrap, then in aluminum foil, and store them in the freezer for up to two weeks. Thaw them overnight in the refrigerator before frosting to ensure they are completely cooled and ready for assembly.
- Buttermilk Substitution: If you don’t have buttermilk on hand, you can easily create a substitute. Mix 1 cup of milk with 1 tablespoon of white vinegar or lemon juice. Let it sit for 5-10 minutes until it thickens slightly. This homemade version provides the necessary acidity to activate the baking soda and contributes to the cake’s tenderness.
Elevate Your Red Velvet Presentation
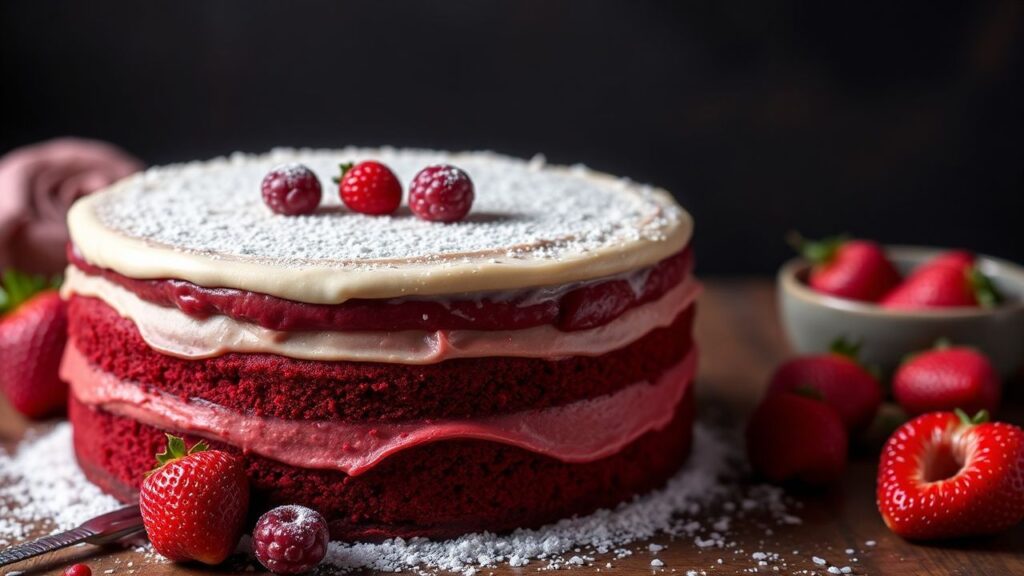
The visual appeal of a red velvet cake is just as important as its taste. Thoughtful garnishes and serving suggestions can transform your creation into a showstopper.
Present your red velvet masterpiece garnished with fresh raspberries or strawberries for a beautiful burst of contrasting color and a hint of tartness. A delicate dusting of edible rose petals or finely chopped toasted pecans can add an elegant touch and a delightful crunch. These additions enhance both the visual appeal and the textural complexity of the cake.
Serve slices slightly chilled alongside a cup of rich coffee or a glass of cold milk. This classic pairing balances the creamy, tangy frosting and the deep cocoa notes of the cake. The cool beverage complements the cake’s richness without overpowering its unique flavor profile.
Nutritional Snapshot
Understanding the nutritional content helps in enjoying this decadent treat mindfully. This information is an estimate and can vary based on specific ingredients and portion sizes.
| Nutritional Information (per slice) | Calories | Protein | Carbs | Fat |
|---|---|---|---|---|
| Red Velvet Cake with Cream Cheese Frosting | 370 kcal | 5 g | 45 g | 18 g |
Explore More Baking Delights
For more delightful cake inspirations and classic recipes, be sure to explore our dedicated Classic Cakes Collection. You’ll find a variety of recipes to satisfy every craving and occasion.
To deepen your understanding of baking science and the crucial roles of different ingredients, we highly recommend checking out King Arthur Baking’s comprehensive Ingredient Guides. This resource offers invaluable insights for bakers of all levels.
Frequently Asked Questions About Red Velvet Cake
Q1: What makes a red velvet cake truly special compared to other cakes?
Red velvet cake is special due to its unique combination of a subtle cocoa flavor, a hint of tanginess from buttermilk, and its signature deep red hue. This distinct profile, paired with a velvety smooth texture, sets it apart from standard chocolate cakes. It’s more than just a dessert; it’s an experience that balances richness with a delicate, melt-in-your-mouth quality, making it perfect for any celebration.
Q2: Why is baking a red velvet cake together such a wonderful activity?
Baking a red velvet cake together transforms a simple recipe into a memorable shared adventure. The collaborative process of measuring, whisking, and folding ingredients fosters connection and conversation. There’s a shared joy and anticipation as you witness the ingredients merge into a beautiful dessert. It’s not solely about the cake itself, but the cherished memories created and blended into every bite.
Q3: What are the key ingredients that bring a red velvet cake to life?
The quintessential ingredients for red velvet include flour, sugar, cocoa powder, buttermilk, and, of course, the iconic fiery red food coloring that paints its blush. A crucial reaction occurs when vinegar meets baking soda, providing a gentle lift and contributing to the cake’s tender texture. Eggs add richness and structure, while the cream cheese frosting provides the final, irresistible touch of silky sweetness and tang.
Q4: Can you share a baking tip for achieving the perfect cake texture?
Absolutely! The paramount secret to achieving the perfect red velvet texture lies in gentle mixing. Over-whisking the batter can toughen the crumb, making the cake dense. Therefore, fold your dry ingredients softly into the wet ingredients until they are just combined – no more than that. Additionally, using room temperature ingredients ensures they blend more harmoniously, crafting that signature tender, melt-in-your-mouth feel.
Q5: How do you know when a red velvet cake is baked just right?
Visual cues are your most reliable indicators: the edges of the cake will begin to pull away slightly from the sides of the pan, and the surface should feel springy to the touch. For the most accurate confirmation, insert a toothpick into the center of the cake. It should emerge with a few moist crumbs attached but no wet batter. Patience during the cooling process is also vital for clean slicing and perfect frosting application.
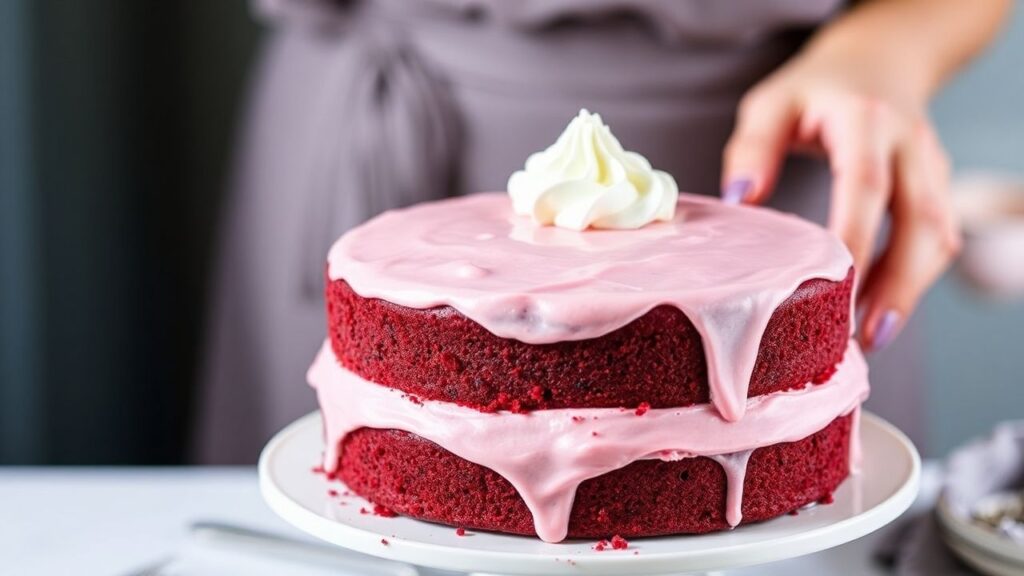
Q6: What’s the best way to decorate a red velvet cake for a shared celebration?
For a timeless appeal, decorate your red velvet cake with a smooth cream cheese frosting that glows like soft snow over the vivid red layers. You can enhance texture by sprinkling a handful of cake crumbs or finely chopped nuts around the edges or on top. For a more whimsical touch, consider adding fresh berries or edible flowers, transforming your baked wonder into a stunning centerpiece that is as delightful to behold as it is to eat.
Q7: Any final thoughts on the joy of baking a red velvet cake together?
Baking a red velvet cake together transcends simply following a recipe; it’s about cultivating warmth, shared laughter, and a profound sense of accomplishment. Each step, from the initial whisking to the final frosting swirl, weaves stories and strengthens bonds. So, gather your loved ones, ignite your ovens, and let the whisking wonders of creating this beautiful cake together begin!
The Lasting Sweetness of Shared Baking
As the final dusting of powdered sugar settles over your freshly baked red velvet masterpiece, the true magic of the entire process becomes undeniably clear. It’s far more than just meticulously mixing ingredients or precisely following a recipe’s steps. It’s about the shared moments, the infectious laughter echoing in the kitchen, and the pure joy that rises alongside the cake itself.
Baking a red velvet cake together transforms a simple dessert into an unforgettable experience. It stands as a sweet testament to the power of collaboration, the virtue of patience, and the boundless creativity that can be unleashed in a shared culinary endeavor. So, the next time you gather your loved ones, remember that the wonders of whisking extend far beyond the batter – they are found in every beat of the heart and every smile shared over a delightful slice of red velvet cake. Happy baking!
See also: Red Velvet Cake
