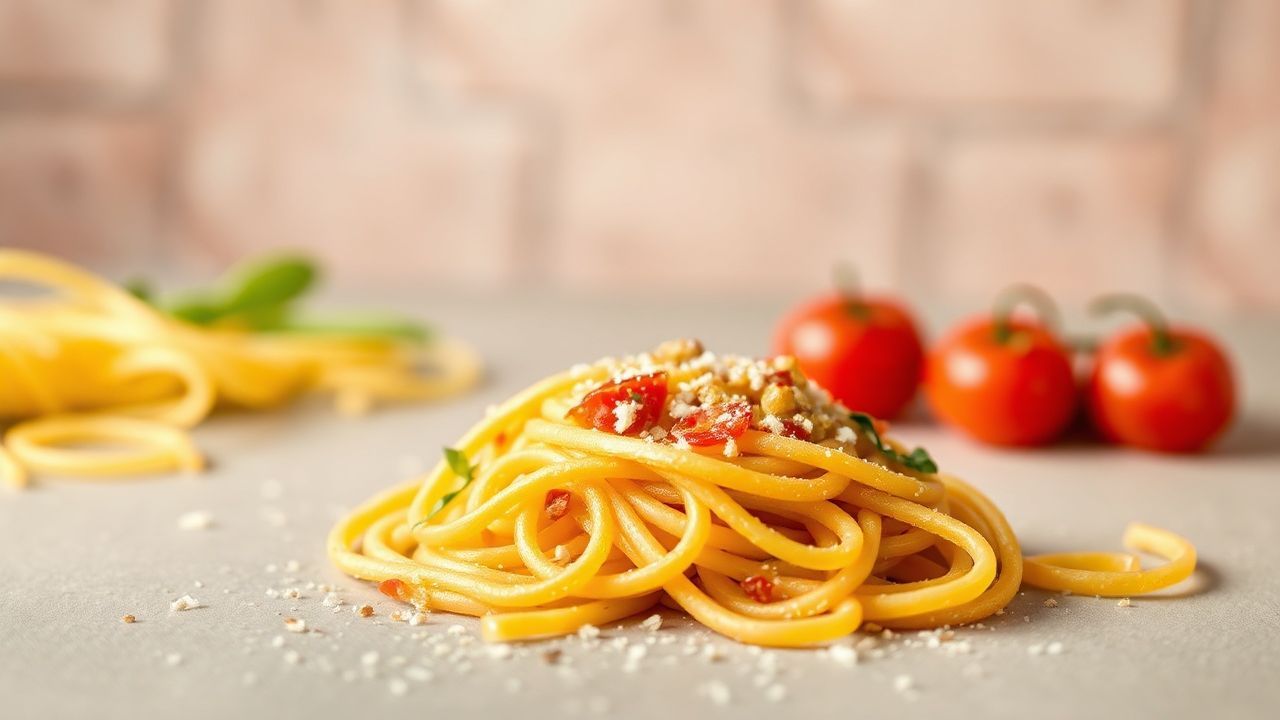
Unleash Culinary Creativity with Edible Pasta Crafts
Pasta serves as a remarkable canvas, transforming ordinary meals into extraordinary artistic endeavors. Imagine turning humble noodles into vibrant jewelry, whimsical sculptures, or colorful mosaics that captivate the senses. Our exploration of edible pasta crafts invites you to blend culinary artistry with hands-on fun, making simple ingredients the stars of engaging projects. These activities are perfect for family bonding, enriching classroom experiences, or simply adding a splash of creativity to a quiet afternoon.
- Unleash Culinary Creativity with Edible Pasta Crafts
- Essential Crafting Details
- Gathering Your Edible Art Supplies
- Step-by-Step Edible Pasta Creation
- 1. Prepare the Pasta
- 2. Color Your Pasta
- 3. Dry the Pasta
- 4. Create Your Edible Jewelry and Sculptures
- 5. Add Finishing Touches
- 6. Flavor Pairings
- Tips for Crafting Success
- Serving Suggestions for Edible Masterpieces
- Frequently Asked Questions: Edible Pasta Crafts
- Q1: What is the concept behind edible pasta crafts?
- Q2: Which types of pasta work best for crafting?
- Q3: How do you make pasta safe and easy to handle for crafting?
- Q4: What edible “glues” work best for pasta crafting?
- Q5: Can kids safely participate in pasta crafting?
- Q6: How long do edible pasta crafts usually last?
- Key Takeaways
Whether you’re a seasoned crafter or a curious beginner, these projects offer a unique way to combine imagination with delicious results. They prove that food can be as much about the creation process as it is about the delightful savoring. Embark on a colorful journey where creativity is served up in tasty, bite-sized pieces, making every moment a feast for the eyes and the palate.
- Transform everyday pasta into vibrant, edible art projects.
- Engage children and adults in creative, delicious fun.
- Explore unique flavor pairings and decorative techniques.
- Discover simple recipes for creating lasting memories.
These edible pasta crafts present an exciting gateway to fuse culinary skills with artistic expression. Picture turning simple pasta into dazzling, colorful jewelry or decorative sculptures that appeal to both kids and adults. This playful approach not only introduces innovative flavor combinations but also actively encourages creativity in the kitchen, ensuring each crafting session becomes a cherished memory.
These projects offer a novel way to interact with food, moving beyond passive consumption to active, hands-on creation. They impart valuable lessons in color theory, spatial arrangement, and fine motor skills, all while culminating in something utterly delicious. It’s an immersive experience that sparks genuine joy and cultivates a profound appreciation for both food and art, highlighting the versatility of this common pantry staple.
Essential Crafting Details
Prep and Cook Time
Prep Time: 25 minutes
Cook Time: 10 minutes
Total Time: 35 minutes
This streamlined timeline makes it easy to integrate these crafts into an afternoon without requiring extensive preparation. The quick prep allows for spontaneous bursts of fun, making it an ideal activity for unexpected rainy days or last-minute party ideas. It’s about maximizing enjoyment with minimal fuss.
Yield
Serves 4-6 creative crafters
This recipe is intentionally designed as a shared experience. It provides ample materials for a small group, fostering collaboration and friendly competition in design. This encourages teamwork and allows everyone to contribute their unique artistic vision.
Difficulty Level
Easy to Medium – perfect for all ages and skill levels
The project scales beautifully with age and experience. Younger children can focus on simple threading and decorating techniques, while older participants can tackle more intricate sculptures and complex flavor combinations. This adaptability ensures everyone can participate and succeed.
Gathering Your Edible Art Supplies
Core Ingredients
- 2 cups colorful dried pasta shapes (bows, shells, wheels, or penne for versatility)
- 1/4 cup olive oil, for light coating
- 1/2 cup powdered food coloring (available in multiple bright shades)
- 1/4 cup honey or maple syrup to help colors adhere
- 1 teaspoon vanilla extract for subtle sweetness
These foundational items ensure your pasta becomes beautifully colored and subtly flavored. The olive oil aids in distributing the coloring agents evenly, while the honey or maple syrup acts as a natural binder, ensuring the vibrant hues adhere effectively to the pasta. This combination creates a perfect base for your edible art.
Decorative and Assembly Elements
- Assorted edible glitters and sprinkles for vibrant finishing touches
- Thin ribbons or food-safe string to assemble pasta jewelry
- Fresh herbs (like basil or mint leaves) for fresh flavor pairings
- Optional: Soft cheeses (ricotta, mascarpone) or dips to complement edible sculptures
The addition of edible glitters and sprinkles brings a dazzling sparkle to your creations. Food-safe string and ribbons are essential for transforming your pasta into wearable art. Fresh herbs and dips offer sophisticated flavor dimensions for the more adventurous eaters, elevating the sensory experience.
Step-by-Step Edible Pasta Creation
1. Prepare the Pasta
Boil the pasta in salted water until al dente (about 7-9 minutes). Drain carefully and immediately rinse under cold water to halt cooking and prevent stickiness. This ensures the pasta holds its shape without becoming mushy, which is crucial for both crafting and eating. Proper texture is key for durability.
Properly cooked pasta provides the ideal texture for crafting. It needs to be firm enough to maintain its form when handled or adhered, yet tender enough to be enjoyable when consumed. The cold water rinse is a vital step to prevent overcooking and clumping, ensuring each piece remains distinct.
2. Color Your Pasta
In a large bowl, whisk together powdered food coloring, honey (or maple syrup), vanilla extract, and olive oil until smooth. Toss pasta gently in this mixture, ensuring every piece is coated evenly. This process infuses both vibrant hue and a subtle sweet aroma into the pasta.
This coloring method is simple yet highly effective, creating brilliant, food-safe colors. The honey or maple syrup not only helps the color bind securely but also adds a delicate sweetness that beautifully complements the pasta’s natural flavor. It’s a dual-purpose ingredient.
3. Dry the Pasta
Spread the colored pasta on parchment-lined trays and allow to air dry for at least 1 hour. This ensures the color sets properly and makes handling significantly easier during assembly. Thorough drying is key to preventing colors from bleeding and ensuring the pasta is easier to work with.
Ensuring the pasta is completely dry prevents it from sticking to itself or tools during the crafting process. This step is critical for achieving clean lines and well-defined shapes in your finished pieces, contributing to a polished final product. Patience here pays dividends.
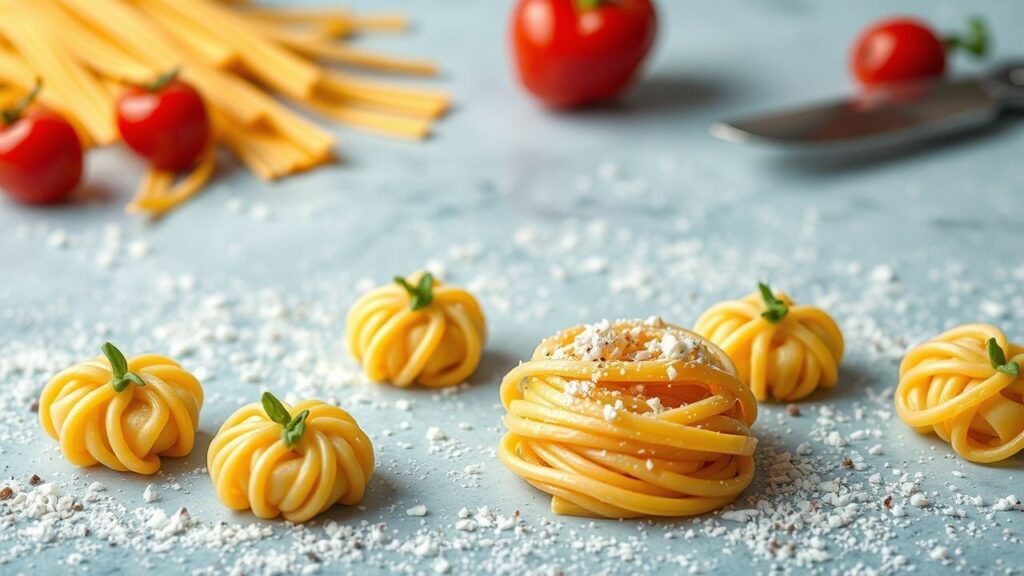
4. Create Your Edible Jewelry and Sculptures
Thread pasta pieces onto thin ribbons or string, mixing shapes and colors to build necklaces, bracelets, or decorative garlands. For ornate sculptures, adhere pasta shapes together using a small dab of softened cheese or a honey drizzle, building layers creatively to form three-dimensional structures.
This is where imagination truly takes flight. Experiment with different pasta shapes to create unique textures and patterns in your designs. For sculptures, think about building from a solid base, adding elements layer by layer to construct captivating three-dimensional forms that stand out.
5. Add Finishing Touches
Lightly brush edible glitter or sprinkle decorative edible sprinkles over your pasta creations. This adds a dazzling sparkle and invites a luxurious visual contrast. The glitter and sprinkles transform simple pasta into truly dazzling works of edible art, making them party-ready.
These decorative elements serve as the final flourish, enhancing the aesthetic appeal. They catch the light beautifully and add an element of surprise and delight, making the crafts even more special for parties or celebrations. They are the crowning glory.
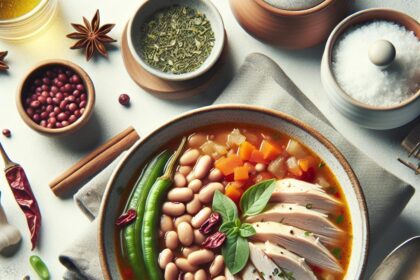
6. Flavor Pairings
Serve your edible pasta jewelry alongside fresh herbs or dips such as ricotta blended with lemon zest or mascarpone with mint. These accompaniments elevate the experience by balancing sweet and savory notes. Offering these pairings allows the crafts to transition seamlessly from purely decorative to a delightful culinary experience.
Consider the flavor profiles carefully when pairing your creations. Delicate herbs like basil or mint complement the inherent sweetness of the colored pasta, while creamy dips can add a rich, savory counterpoint. This thoughtful pairing enhances the overall enjoyment and sophistication of the edible creations.
Tips for Crafting Success
- Choose your pasta wisely: Small shapes like macaroni, wheels, and shells are ideal for threading, whereas bows and rigatoni work well for sculpture bases. Consider the intended use when selecting shapes.
- Color intensities: Adjust powdered food coloring amounts for softer pastels or more vibrant tones. Always test on a small batch first to achieve your desired effect.
- Prevent breakage: Let pasta dry thoroughly before assembling; wet pasta is more fragile and prone to snapping. Proper drying is paramount for structural integrity.
- Use food-safe materials: Always select edible glitters and safe string or ribbon to keep crafts deliciously wearable and safe for consumption.
- Make ahead: Colored pasta can be stored in airtight containers for up to a week, ready for spontaneous crafting sessions! This saves time when inspiration strikes.
These practical tips are designed to ensure your pasta crafting endeavors are both smooth and successful. From selecting the right pasta shapes to ensuring all materials are safe for consumption, these guidelines cover key aspects of the creative process, ensuring a positive outcome.
Patience and attention to detail, like drying the pasta thoroughly, can prevent common frustrations and lead to superior results. Storing colored pasta also adds significant convenience, allowing for quick setup of an impromptu craft session whenever inspiration strikes, making it a readily available activity.
Serving Suggestions for Edible Masterpieces
Present the edible pasta jewelry on a rustic wooden board or colorful trays. Pair with small bowls of complementary dips and fresh herb sprigs to enhance the sensory experience. This thoughtful presentation transforms your crafts into a visual feast, inviting guests to interact with them directly.
Allow guests to wear their creations before delicately nibbling on their artistic masterpieces. This interactive element adds a unique layer of fun and engagement, making the entire experience exceptionally memorable. For gatherings or children’s parties, display the sculptures under soft lighting to highlight the glitter and hues, making every piece glow enticingly.
The visual appeal is paramount in presenting these crafts. Consider the overall theme of your event when choosing serving ware and display methods. The ultimate goal is to create an aesthetically pleasing presentation that actively encourages interaction and enjoyment from all participants.
Frequently Asked Questions: Edible Pasta Crafts
Q1: What is the concept behind edible pasta crafts?
A1: Edible pasta crafts merge the joy of cooking with hands-on creativity, transforming simple pasta shapes into delightful, decorative, and delicious masterpieces. It’s all about crafting edible art that you can both admire and enjoy eating.
Q2: Which types of pasta work best for crafting?
A2: The most effective pasta for crafting are those possessing interesting shapes and varied sizes, such as fusilli (spirals), farfalle (bow ties), penne (tubes), and rigatoni (larger tubes). These shapes contribute texture and structure, making the crafts more visually appealing and easier to assemble into cohesive designs.
Q3: How do you make pasta safe and easy to handle for crafting?
A3: For edible crafts, use cooked pasta that is al dente and firm but tender, so it holds its shape without falling apart. Cool it completely to avoid stickiness before crafting. Alternatively, uncooked pasta can be adhered with edible spreads like cream cheese or peanut butter for sturdier, no-bake projects.
Q4: What edible “glues” work best for pasta crafting?
A4: Nut butters, cream cheese, hummus, and even frosting are fantastic edible adhesives. They adhere well, offer complementary flavors, and are safe to eat, ensuring your pasta creations are both structurally sound and delightfully tasty.
Q5: Can kids safely participate in pasta crafting?
A5: Absolutely! Pasta crafts are ideal for fostering children’s creativity and developing their motor skills. Just ensure small pasta pieces are supervised to prevent choking hazards, and always use allergy-friendly adhesives and ingredients.
Q6: How long do edible pasta crafts usually last?
A6: Because these creations are made from perishable ingredients, it’s best to enjoy them fresh, ideally within a day. If you wish to preserve the artistic look for a longer period, consider using uncooked pasta adhered with non-edible craft glue for display-only projects.
Key Takeaways
As you twirl your fork through these imaginative and edible pasta crafts, remember that creativity in the kitchen is just as fulfilling as the flavors on your plate. From colorful macaroni mosaics to playful pasta sculptures, the possibilities are endless and deliciously fun. So gather your favorite shapes, sprinkle in a dash of curiosity, and let your culinary artistry shine—because with pasta as your canvas, every bite is a masterpiece waiting to happen. Happy crafting and even happier eating!
See also: edible pasta crafts


