
{
“title”: “20+ Quick & Easy Food Art Ideas for Fun School Lunches”,
“content”: “
- Whip Up Fun: Quick & Easy Food Art for School Lunches
- The Magic of Simple Ingredients in Food Art
- Essential Ingredients for Edible Masterpieces
- Step-by-Step Guide to Creating Lunchbox Art
- Expert Tips for Lunchbox Artistry Success
- Serving and Presentation Ideas
- Q&A: Your Food Art Lunchbox Questions Answered
- What exactly is food art for school lunches?
- Why should parents try making food art for their kids’ school lunches?
- Do I need special tools or fancy ingredients to create food art?
- How much time does food art usually take to prepare?
- What are some easy starter ideas for a beginner?
- Can food art be healthy?
- How do I keep the food fresh and intact until lunchtime?
- What if my child’s school has strict lunch guidelines?
- How can kids get involved in making their own food art?
- Where can I find inspiration for more food art ideas?
- In Conclusion: Making Lunchtime a Masterpiece
Whip Up Fun: Quick & Easy Food Art for School Lunches
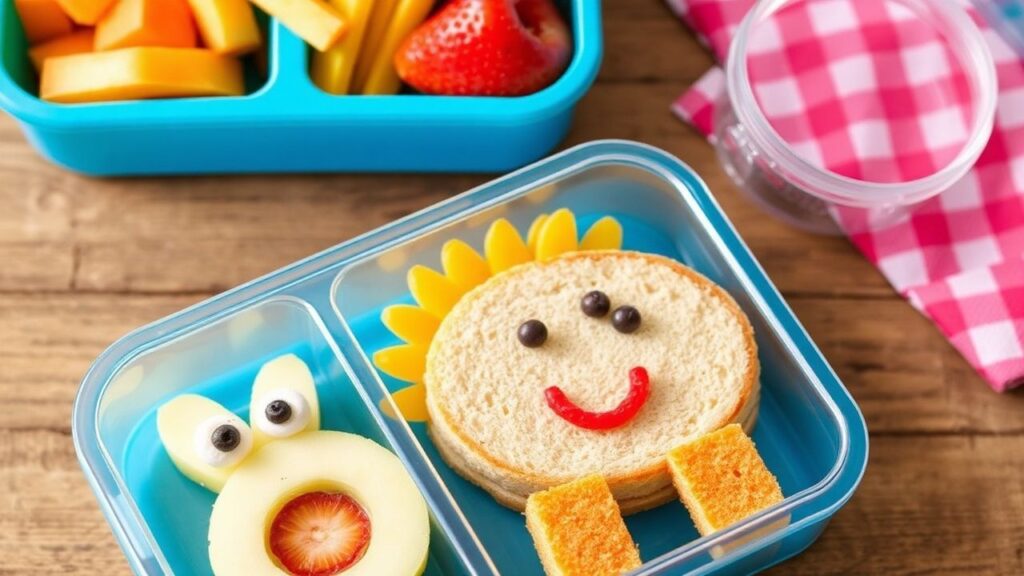
Brighten your child’s midday meal with a splash of creativity and a dash of delight! “Whip Up Fun: Quick & Easy Food Art for School Lunches” invites parents and caregivers to transform ordinary lunchboxes into vibrant canvases of edible art. Whether it’s a smiley-faced sandwich or a colorful fruit critter, these simple yet imaginative ideas make lunchtime more exciting and encourage healthy eating habits. Get ready to explore playful recipes and clever tips that turn everyday ingredients into masterpieces, because when food looks fun, kids eat with joy!
At a Glance: Lunchbox Artistry
- Transforms ordinary meals into exciting edible creations.
- Encourages picky eaters to embrace healthy foods.
- Simple, accessible ingredients require minimal prep time.
- Sparks creativity and makes lunchtime a joyful experience.
The Magic of Simple Ingredients in Food Art
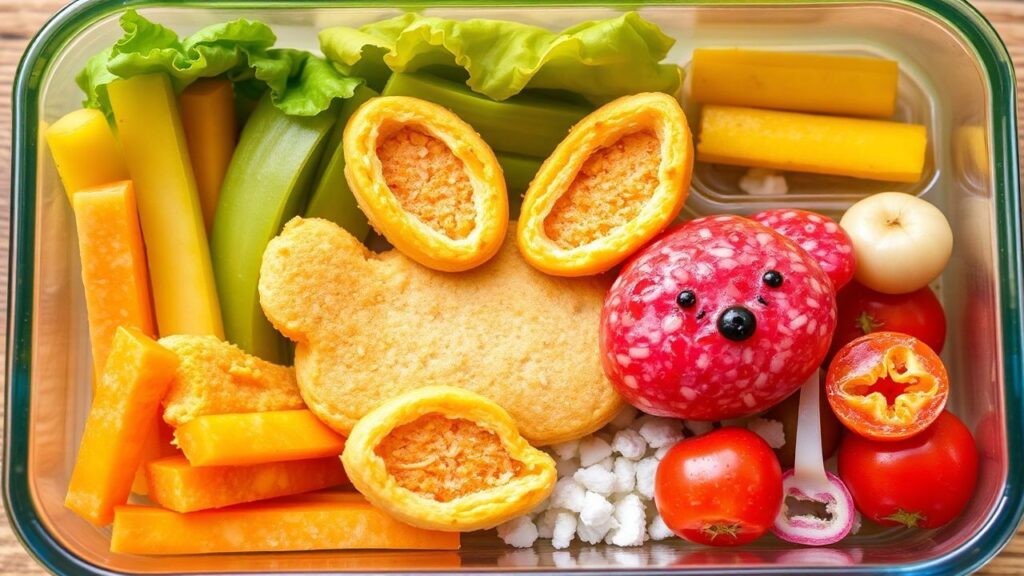
Whip Up Fun starts with the magic of simple, fresh ingredients that are easy to find and even easier to transform into delightful, edible masterpieces. Inspired by the joy and creativity that food art brings to children’s lunches, this method lets you turn everyday staples like bread, cheese, fruits, and veggies into charming shapes and characters. This approach sparks excitement and encourages healthy eating habits, because when food looks like fun, it becomes irresistible.
The beauty of food art lies in its accessibility. You don’t need exotic ingredients or a culinary degree. Common pantry items and fresh produce become your artistic palette. This makes it practical for busy parents and a fantastic way to introduce children to a variety of healthy foods in a playful, non-intimidating format.
Prep and Cook Time
- Preparation Time: 15 minutes
- Cooking Time: 10 minutes (if applicable)
- Total Time: 25 minutes
Yield
Serves 4 lunchboxes (about 8-10 food art pieces)
Difficulty Level
Easy – perfect for busy mornings or weekend prepping with kids.
Essential Ingredients for Edible Masterpieces
Gathering your supplies is the first step to unlocking a world of lunchtime creativity. These ingredients are versatile and form the foundation for countless fun food designs. Think of them as your artist’s toolkit, ready to be shaped and assembled into edible wonders.
- 4 slices whole grain sandwich bread (crusts trimmed for easy shaping)
- 1 cup shredded cheddar cheese (or your choice of mild cheese)
- 1 small carrot, peeled and sliced thinly
- ½ cucumber, sliced into rounds
- 1 ripe strawberry, halved
- 3 tablespoons cream cheese, softened (for adhering pieces)
- 1 hard-boiled egg, sliced or mashed
- Fresh herbs (parsley or chives for garnish)
- Assorted colorful bell peppers, sliced thinly
- Small cookie cutters or sharp kitchen scissors for shaping
Step-by-Step Guide to Creating Lunchbox Art
Transforming ordinary food into extraordinary art is simpler than you think. Follow these steps to build delightful edible characters and designs that will make your child’s lunchbox the star of the cafeteria. Each step builds upon the last, creating a harmonious and visually appealing meal.
- Prepare your shapes: Using small cookie cutters, cut the bread slices into fun shapes such as stars, hearts, or animals. If you don’t have cutters, use a sharp knife or scissors to carefully craft simple silhouettes. Be creative with basic forms that kids will recognize and enjoy.
- Create the base layer: Spread a thin, even layer of cream cheese on each bread shape. This acts as an edible adhesive and adds a creamy texture that complements the other ingredients.
- Add the cheese layer: Sprinkle the shredded cheddar atop the cream cheese for a bright pop of color and a mellow tang. Press lightly to secure it, ensuring it adheres well to the cream cheese base.
- Craft facial features and accents: Using the carrot slices, bell pepper strips, and cucumber rounds, carefully build eyes, noses, mouths, and hats on your shapes. For tiny details, use the edge of a toothpick to place pieces precisely, allowing for intricate designs.
- Incorporate fruit pops: Add strawberry halves for rosy cheeks or blush spots. You can also dice a little strawberry to create texture like hair or scales, adding another dimension to your creation.
- Detail with boiled eggs: Slice or mash the hard-boiled egg to make soft white shapes or small circles for eyes. Dot the centers with tiny herb pieces or a bit of pepper for pupils, adding a lifelike quality to your characters.
- Garnish and finish: Sprinkle fresh herbs like parsley or chives to simulate hair, grass, or whiskers. This final touch adds vivid color and freshness, completing the artistic presentation.
- Pack and preserve: Carefully layer your food art into lunch containers with parchment paper between layers to maintain shape and freshness. Ensure the container is secure to prevent any accidental disarray during transport.
Expert Tips for Lunchbox Artistry Success
Elevating your lunchbox art involves a few smart strategies. These tips are designed to make the process smoother, more enjoyable, and to ensure your creations arrive looking as vibrant as when you made them. They focus on enhancing both the visual appeal and the practicality of food art.
- Experiment with textures: Combining smooth cream cheese with crunchy veggies and tender bread adds multidimensional appeal. Varying textures makes each bite more interesting and engaging for young eaters.
- Use vibrant colors: The contrast of orange carrots against green cucumbers makes characters pop and catch the eye. A colorful lunch is more appealing and often signals a healthier, more nutrient-dense meal.
- Pre-cut and store: Prepare shapes a day ahead and store in airtight containers to save morning prep time. This foresight is crucial for busy schedules, making the process less rushed.
- Get kids involved: Let children choose shapes and assemble pieces for extra lunchtime excitement. When kids participate, they develop a stronger connection to their food and are more likely to eat it.
- Substitute freely: Use any mild spreads or dairy-free alternatives for cream cheese or cheese for dietary preferences. Adaptability ensures that everyone can enjoy the fun, regardless of dietary needs.
Serving and Presentation Ideas
The way you present your food art significantly enhances its appeal. Think about the overall lunchbox experience, not just the individual pieces. Creative presentation can make even the simplest food look exciting and special.
Present your food art alongside colorful fruit kabobs or crunchy veggie sticks for balance. Add a small container of hummus or yogurt dip to complement the crunchy and creamy elements. Use decorative lunchboxes or bento containers that feature clear compartments to elegantly showcase each edible masterpiece. A sprinkle of edible flowers or microgreens can elevate the presentation and bring a gourmet feel to school lunches.
| Nutrition per Serving | Calories | Protein | Carbs | Fat |
|---|---|---|---|---|
| Food Art Creations (2 pieces) | 180 | 8g | 22g | 6g |
For additional creative inspiration, explore our Healthy Kids Meals Guide or find expert-backed nutritional info at EatRight.org. Understanding the nutritional value of the foods you use helps create balanced, wholesome meals.
Q&A: Your Food Art Lunchbox Questions Answered
What exactly is food art for school lunches?
Food art transforms everyday lunchbox ingredients into playful, edible masterpieces! Think smiling fruit faces, animal-shaped sandwiches, and colorful veggie rainbows—all designed to turn a simple meal into a mini celebration of creativity. It’s about making food fun and engaging for kids.
Why should parents try making food art for their kids’ school lunches?
Beyond being visually delightful, food art can encourage picky eaters to try new foods, make mealtime more exciting, and show kids a little love and creativity that brightens their school day. Plus, it’s a fun bonding activity for parents who enjoy a dash of artistic flair in the kitchen. It fosters a positive relationship with food from a young age.
Do I need special tools or fancy ingredients to create food art?
Not at all! Most food art relies on everyday kitchen staples—cookie cutters, toothpicks, colorful fruits, veggies, cheese, and sandwich bread. Simple household items like straws for shaping or a paring knife for cutting can help bring your edible designs to life. No complicated gadgets necessary; creativity is your main tool.
How much time does food art usually take to prepare?
Quick and easy is the name of the game! Many food art ideas take just 5-10 minutes to assemble. Using pre-cut fruits or pre-made sandwich shapes can speed things up. It’s designed to fit into busy mornings without causing chaos, making it a practical choice for any parent.
What are some easy starter ideas for a beginner?
Start simple: Fruit faces using banana slices for eyes, blueberries for pupils, and a strawberry smile. Animal shapes can be made by cutting sandwiches with cookie cutters. Veggie bouquets can be arranged with colorful veggie sticks like “flowers” in a small container with hummus “soil.” These little touches instantly add charm to any lunchbox.
Can food art be healthy?
Definitely! Food art encourages using fresh fruits, veggies, whole grains, and lean proteins in fun forms. It’s a playful way to sneak in nutrients, promote balanced eating, and inspire kids to appreciate natural colors and flavors. It aligns perfectly with the principles of a healthy diet.
How do I keep the food fresh and intact until lunchtime?
Use insulated lunch containers or pack lunches with ice packs to maintain freshness. Include moisture-absorbing paper towels to prevent sogginess, and assemble delicate art shortly before packing. Portion veggies and fruits to avoid mash-up; presentation matters! Proper packing ensures the art looks as good at lunchtime as it did when made.
What if my child’s school has strict lunch guidelines?
Food art is flexible! You can create appealing lunches that meet school policies, focusing on ingredient choices rather than complicated presentation. Just check allergen policies and banned items ahead of time, then customize the art accordingly. Many schools encourage nutritious and visually appealing meals within their guidelines.
How can kids get involved in making their own food art?
Invite your child to be a co-chef! Let them choose shapes, arrange fruits, or create funny faces. This hands-on involvement boosts their excitement to eat what they helped make and fosters creativity—they might even surprise you with their own culinary masterpieces. It’s a fantastic way to build their confidence in the kitchen and develop healthy eating habits.
Where can I find inspiration for more food art ideas?
The internet is bursting with food art inspiration—from Instagram hashtags like #FoodArtFun to Pinterest boards dedicated to lunchbox creativity. Cookbooks, family blogs, and even kitchen apps offer step-by-step tutorials perfect for parents and kids alike. Exploring resources like Pinterest can lead to endless creative avenues.
Ready, set, craft your edible canvas! With quick & easy food art, every lunchbox becomes a gallery of smiles and tasty fun. This approach encourages a positive relationship with food, making mealtime something to look forward to.
In Conclusion: Making Lunchtime a Masterpiece
With just a little creativity and a few simple ingredients, school lunches can transform from ordinary to extraordinary in no time. Whipping up fun food art isn’t just about making mealtime more visually appealing—it’s about sparking joy, encouraging healthy eating, and turning every bite into a playful adventure. It’s a simple yet effective way to show your child you care, making their school day a little brighter.
So next time you pack a lunchbox, remember: a pinch of imagination and a dash of color can make the midday meal the most anticipated part of the school day. Ready, set, create—and watch those lunchboxes come alive with fun! Embrace the simple pleasures of food and creativity, and enjoy the smiles your edible art will bring.
 “,
“,
“meta_description”: “Discover quick & easy food art ideas to transform school lunches into fun, edible masterpieces. Simple recipes, creative tips, and healthy inspiration for kids.”,
“focus_keyword”: “food art”
}

