{
“title”: “7 Steps to Dazzling Homemade Rock Candy Sticks: A Sweet Science Guide”,
“content”: “
- Unveiling the Sweet Science of Rock Candy
- Essential Details for Your Candy Creation
- Gathering Your Crystal-Growing Ingredients
- Step-by-Step Guide to Crafting Rock Candy
- Expert Tips for Crystal Perfection
- Creative Serving and Presentation Ideas
- Frequently Asked Questions About Rock Candy
- Q1: What is rock candy, and why is it called the “Sweet Science”?
- Q2: How do you make rock candy sticks at home?
- Q3: What gives rock candy its vibrant colors?
- Q4: Can you flavor rock candy beyond just sweet sugar?
- Q5: What’s the trick to getting bigger, well-formed crystals?
- Conclusion: Your Sweet Creation Awaits
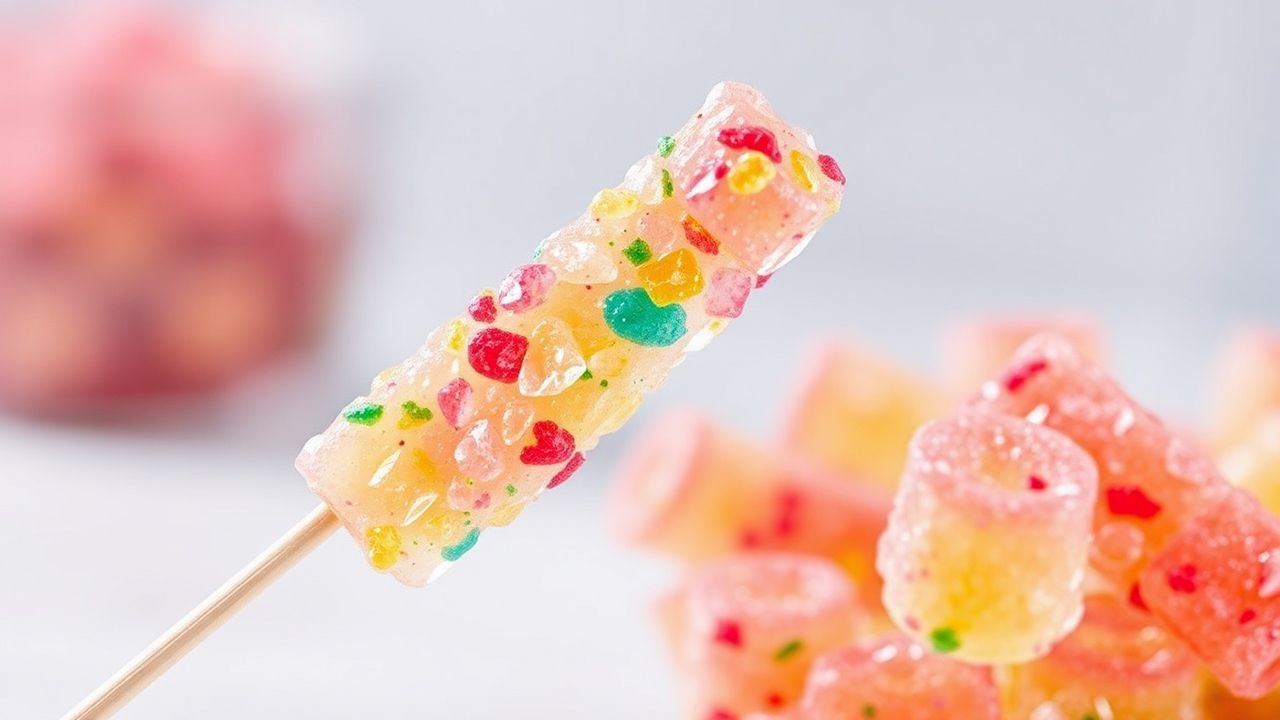
There’s a captivating magic in watching simple sugar transform into shimmering crystals, catching the light like tiny jewels on a stick. Welcome to the world of sweet science, where chemistry meets creativity in the form of colorful homemade rock candy sticks. This delightful treat offers more than just a nostalgic nod to childhood fairs; it’s a hands-on adventure that blends art and experimentation.
- Making rock candy involves precise sugar dissolution and patient crystal growth.
- Achieve vibrant colors and distinct flavors using food coloring and extracts.
- Properly seeding sticks and maintaining a stable environment are key to large crystals.
- Homemade rock candy serves as both a delicious confection and a decorative element.
From dissolving sugar to the slow dance of crystal formation, crafting your own rock candy invites you to explore the fascinating process behind one of the oldest confections known to humanity. Ready to turn your kitchen into a vibrant candy laboratory? We examine the sweet science of making rock candy sticks that sparkle with color and flavor.
Unveiling the Sweet Science of Rock Candy
The creation of rock candy exemplifies the fascinating interplay between art and chemistry, generating those mesmerizing, sparkling crystals. This timeless confection, steeped in centuries of tradition, captivates both childlike wonder and scientific curiosity.
Crafting perfect rock candy involves dissolving sugar to saturation and encouraging crystal formation through patience and precision. It’s a delicious experiment you can truly savor. With vibrant colors and luscious flavors, each stick becomes edible art, brightening any table or gift package.
Essential Details for Your Candy Creation
Prep and Cook Time Overview
Preparation: Allow about 10 minutes for gathering and initial setup. This phase focuses on preparing your seeding sticks and ensuring all ingredients are measured.
Cooking: The sugar syrup itself requires approximately 10 minutes of cooking. This ensures the sugar is fully dissolved and the solution reaches the necessary saturation point for crystal growth.
Crystal Formation Timeline
Crystal formation: This is where patience plays its most crucial role. Expect crystal formation to take anywhere from 5 to 7 days. During this period, the magic of crystallization unfolds slowly and steadily.
Yield and Difficulty
Yield: This recipe typically produces approximately 6 colorful rock candy sticks. The size of the sticks and jars can slightly influence the final count.
Difficulty Level: Consider this a medium-difficulty recipe. It requires attentive patience and precision, particularly during the crystal growth phase. It’s an accessible project for most home cooks.
Gathering Your Crystal-Growing Ingredients
To embark on this sweet science adventure, you’ll need a few key components. The foundation of rock candy is remarkably simple, relying primarily on sugar and water.
- 4 cups granulated sugar: This is the primary building block for your crystals. Using standard granulated sugar is essential for proper crystallization.
- 2 cups water, filtered: Filtered water ensures clarity by removing minerals that can interfere with crystal formation.
- 1/2 teaspoon flavor extract: Choose from classics like vanilla, peppermint, cherry, or lemon for a delightful aroma and taste.
- Food coloring: Gel or liquid food coloring works well. Opt for bold, saturated colors that will truly make your rock candy pop.
- 6 wooden skewers or string sticks: These will serve as the base for your crystal growth. Lightly coating them with sugar is crucial to seed the crystals.
- 6 tall clear glass jars: These are ideal for growing crystals, allowing you to observe the process and providing the necessary depth for crystal development.
Step-by-Step Guide to Crafting Rock Candy
Follow these detailed steps to transform basic ingredients into sparkling sugar masterpieces. Each stage is designed to maximize crystal growth and visual appeal.
- Prepare Your Seeding Sticks: Begin by lightly coating each wooden skewer or string stick with granulated sugar. Roll them in sugar crystals, then set them aside on parchment paper to dry completely. This sugar coating acts as “seed crystals,” providing a surface for the main crystals to adhere to and grow evenly.
- Create the Saturated Sugar Solution: In a medium saucepan, bring the 2 cups of filtered water to a rolling boil. Gradually add the 4 cups of granulated sugar, stirring constantly. Continue stirring until all the sugar is fully dissolved and the solution appears clear and syrupy. This process creates a supersaturated solution, which is vital for promoting crystal growth. You’re essentially dissolving as much sugar as the water can hold at that temperature.
- Infuse with Flavor and Color: Remove the saucepan from the heat. Gently stir in your chosen flavor extract and a few drops of food coloring until the mixture is evenly distributed. The combination of vibrant colors and enticing flavors will transform your simple syrup into the base for eye-catching, delicious treats. Adjust coloring gradually to achieve your desired intensity.
- Pour into Growing Jars: Carefully transfer the hot sugar solution into each of the 6 tall clear glass jars. Fill each jar to about three-quarters full. Allow the solution to cool slightly until it is warm but not hot to the touch. This cooling period helps prevent the glass jars from cracking due to the extreme temperature change.
- Insert Sticks and Stabilize: Place a prepared, sugar-coated stick into each jar. Ensure the stick remains suspended in the middle of the jar and does not touch the bottom or sides. You can achieve this by using binder clips or a clothespin balanced across the jar’s rim. This positioning encourages uniform crystal formation all around the stick.
- Cultivate Crystal Growth: Position the jars in a cool, undisturbed location away from direct sunlight and drafts. Allow the crystals to form naturally over the next 5 to 7 days. You will witness the rock candy slowly sparkle and thicken as the sugar molecules precipitate out of the solution and onto the seeding sticks. This is a magical process orchestrated by nature.
- Harvest and Dry Your Candy: Once your crystals have reached your desired size, carefully remove the sticks from the jars. Let them dry on wax paper for a few hours. The candy will harden slightly, ensuring long-lasting, shatter-resistant sticks that look stunning. This drying step is crucial to prevent the candy from becoming sticky.
Expert Tips for Crystal Perfection
Achieving consistently beautiful rock candy involves attention to detail and understanding the science behind crystal formation. These tips will help you elevate your creations.
- Use filtered water to avoid minerals that can interfere with crystal clarity and create cloudy results.
- Maintain a clean, impurity-free environment. Even microscopic dust particles can disrupt the uniform growth of sugar crystals.
- For deeper color intensity, add food coloring gradually during the final stage of mixing the syrup. This allows for precise control over the hue.
- Experiment with natural extracts and essential oils for unique flavor profiles beyond the usual.
- If crystals don’t form well, try reheating the solution gently and adding more sugar until the saturation point is reached again. Ensure it’s a supersaturated solution.
- Make a batch ahead and measure crystal growth daily to learn your ideal timing for future batches. This helps in predicting results.
Creative Serving and Presentation Ideas
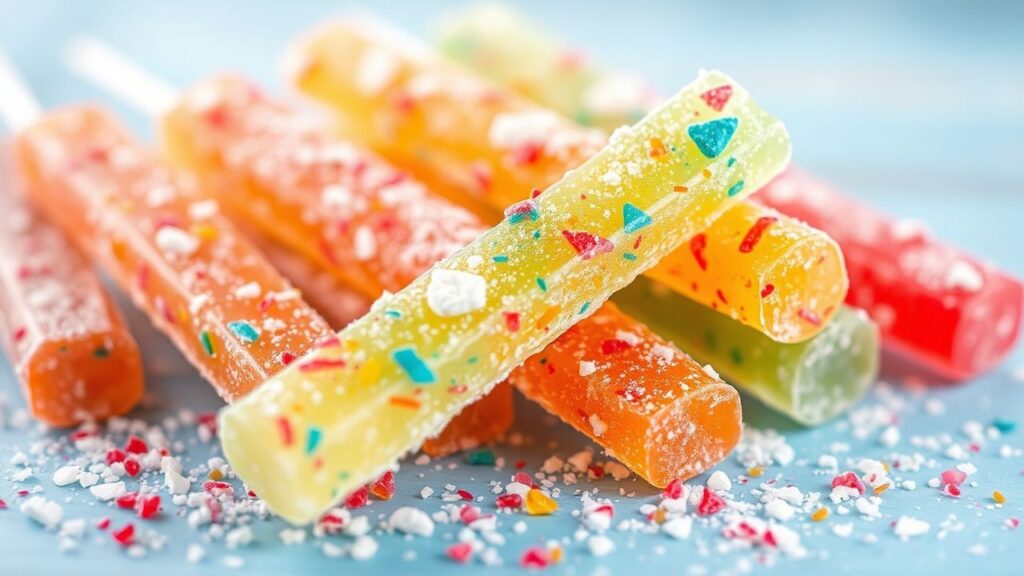
Your homemade rock candy sticks are not just delicious; they are visually stunning additions to any occasion. Their crystalline beauty and vibrant colors offer numerous presentation possibilities.
Present your rock candy sticks upright in tall glasses or vintage apothecary jars to highlight their vibrant hues and crystal sparkle. They make enchanting party favors or sophisticated coffee stirrers for themed events. Garnish platters with fresh mint leaves or edible flowers to elevate presentation aesthetics.
Pair your rock candy creations with a warm cup of tea or fizzy lemonade for a whimsical sweet twist. For a dramatic touch, wrap individual sticks in parchment paper tied with colorful ribbons or twine, transforming them into personalized gourmet gifts that are sure to impress.
| Nutritional Info (per stick) | Value |
|---|---|
| Calories | 120 kcal |
| Carbohydrates | 30 g |
| Protein | 0 g |
| Fat | 0 g |
For further inspiration on sweet crystal desserts, discover our comprehensive candy recipes guide. To deepen your understanding of sugar chemistry, explore this detailed resource from Britannica on Sugar Science.
Frequently Asked Questions About Rock Candy
Q1: What is rock candy, and why is it called the “Sweet Science”?
Rock candy is essentially crystallized sugar formed on sticks or strings through a fascinating process of controlled supersaturation and slow evaporation. It’s dubbed the “Sweet Science” because creating perfect, colorful crystals combines culinary art with chemistry. You play with heat, saturation levels, and patience to coax sugar molecules into dazzling formations.
Q2: How do you make rock candy sticks at home?
The core method involves dissolving a massive amount of sugar in hot water until the solution is fully saturated. After it cools slightly, you dip your prepped sticks. These sticks often get rolled in sugar beforehand to give crystals a starting point. You then place the sticks in the sugary solution and wait for crystals to grow as the solution cools and water evaporates. Patience is a key ingredient.
Q3: What gives rock candy its vibrant colors?
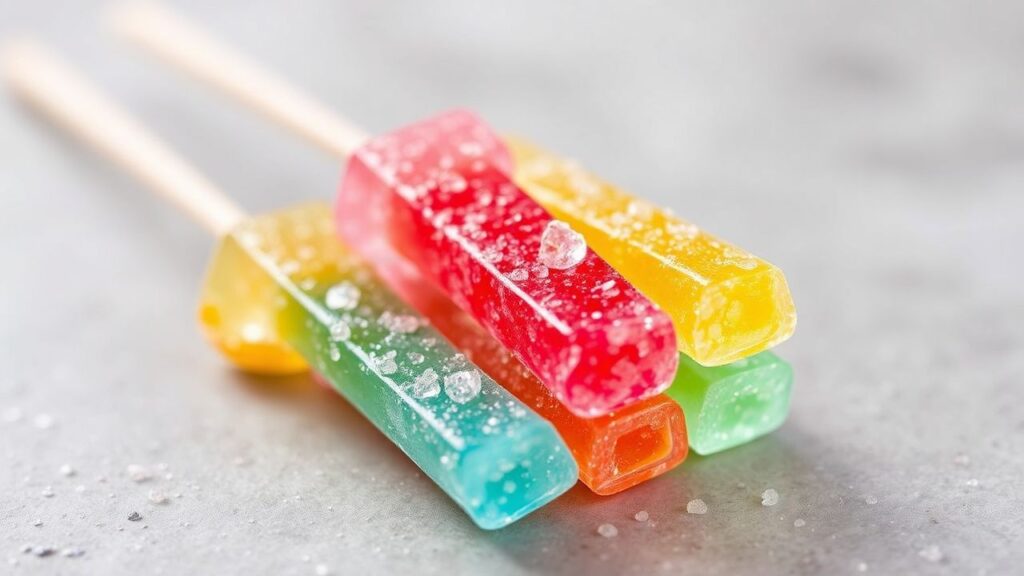
Colorful rock candy is akin to edible stained glass. Food coloring is added directly to the sugar solution, tinting the crystal growth as it forms. You can opt for classic hues like red and blue or experiment with mixed, funky shades. The colors soak into the crystal lattice as they develop, creating a treat that is as visually appealing as it is sweet.
Q4: Can you flavor rock candy beyond just sweet sugar?
Absolutely! Flavor extracts, such as vanilla, peppermint, lemon, or even bolder options like espresso, can infuse your candy sticks with delightful aromas and tastes. Simply add a few drops to your sugar solution before the crystal growth stage begins. The result is an aromatic treat that tantalizes both taste buds and the eyes.
Q5: What’s the trick to getting bigger, well-formed crystals?
Great crystal growth requires a high degree of supersaturation and considerable patience. Use pure, undisturbed sugar syrup that has cooled at room temperature, and avoid jarring or moving the setup. Allow crystals to grow slowly over several days; rushing the process or shaking the jars can cause the formation of many tiny crystals or result in cloudy candy. The larger and clearer the crystals, the sweeter the victory!
For further inspiration on sweet crystal desserts, discover our comprehensive candy recipes guide. To deepen your understanding of sugar chemistry, explore this detailed resource from Britannica on Sugar Science.
Conclusion: Your Sweet Creation Awaits
As the shimmering crystals harden and the vibrant hues settle into dazzling patterns, your homemade rock candy sticks become more than just a treat. They stand as proof of the enchanting blend of science and artistry. Crafting these sugary sculptures invites you into a world where chemistry meets creativity, transforming simple ingredients into colorful wonders.
So, next time you crave a sweet adventure, remember this: with a bit of patience and a splash of imagination, you can turn your kitchen into a candy laboratory, one sparkling stick at a time. Happy crystallizing!
“,
“meta_description”: “Learn to craft dazzling homemade rock candy sticks! This guide covers ingredients, step-by-step instructions, and expert tips for vibrant, crystal-clear sugar confections.”,
“focus_keyword”: “rock candy sticks”
}


