In a world that’s always on the move, the simple comfort of a warm, nourishing sip can feel like a fleeting luxury. Enter the humble thermos-a little vessel packed with the potential to transform your day, sip by sip. Whether you’re navigating a hectic commute, wrapped in layers at a chilly park bench, or seeking a quick pick-me-up at your desk, crafting the perfect broth to carry with you is an art worth mastering. In this article, we’ll explore the basics of making simple, satisfying thermos broths that not only keep the cold at bay but also deliver warmth, flavor, and nourishment anywhere life takes you. Get ready to sip warmth anywhere, anytime, with ease and creativity.
Sip Warmth Anywhere: Crafting Simple Thermos Broth Basics is an invitation to embrace the soothing comfort of homemade broth wherever your day takes you. Originating from traditional kitchens where nourishing broths were treasured for their restorative powers, this recipe reinvents the ritual into a practical, portable experience. Whether braving a chilly commute or powering through a busy afternoon, having a thermos filled with rich, flavorful broth can transform your day with warmth and nutrition.
Prep and Cook Time
Total Time: 1 hour 15 minutes (including simmering)
Yield
Servings: 4 generous servings (perfect for refills throughout the day)
Difficulty Level
Easy to Medium – Suitable for broth enthusiasts eager to master portability without fuss.
Ingredients
- 3 pounds beef bones (preferably with marrow and knuckles, for richness)
- 1 large onion, quartered (no peeling needed, char for depth)
- 2 medium carrots, peeled and chopped into large chunks
- 3 celery stalks, coarsely chopped
- 5 cloves garlic, lightly crushed
- 2 bay leaves
- 10 whole black peppercorns
- 1 tbsp apple cider vinegar (draws minerals from bones)
- Salt, to taste (add after simmering to control seasoning)
- Filtered water, enough to cover the bones (about 12 cups)
Instructions
- Prepare your bones: Rinse beef bones under cold water. For a more intense flavor, roast them uncovered at 425°F for 30 minutes until browned.
- Char the vegetables: Place onion, carrots, and celery on a dry skillet or roasting pan and char over medium heat until blackened in spots, about 8 minutes. This deepens the broth’s flavor.
- Combine ingredients: In a large stockpot or slow cooker, add bones, charred vegetables, garlic, bay leaves, peppercorns, and apple cider vinegar. Pour in filtered water, ensuring bones are fully submerged.
- Simmer gently: Bring to a boil, then immediately lower to a simmer. Skim off any foam or impurities that rise to the top during the first 15 minutes.
- Low and slow cooking: Cover partially and simmer for 8-12 hours (or 12-24 hours in a slow cooker) on the lowest setting for maximum nutrient extraction.
- Strain thoughtfully: Remove bones and vegetables with a slotted spoon. Pour broth through a fine mesh strainer lined with cheesecloth for clarity.
- Season and cool: Add salt to taste and let the broth cool to lukewarm before transferring to your thermos.
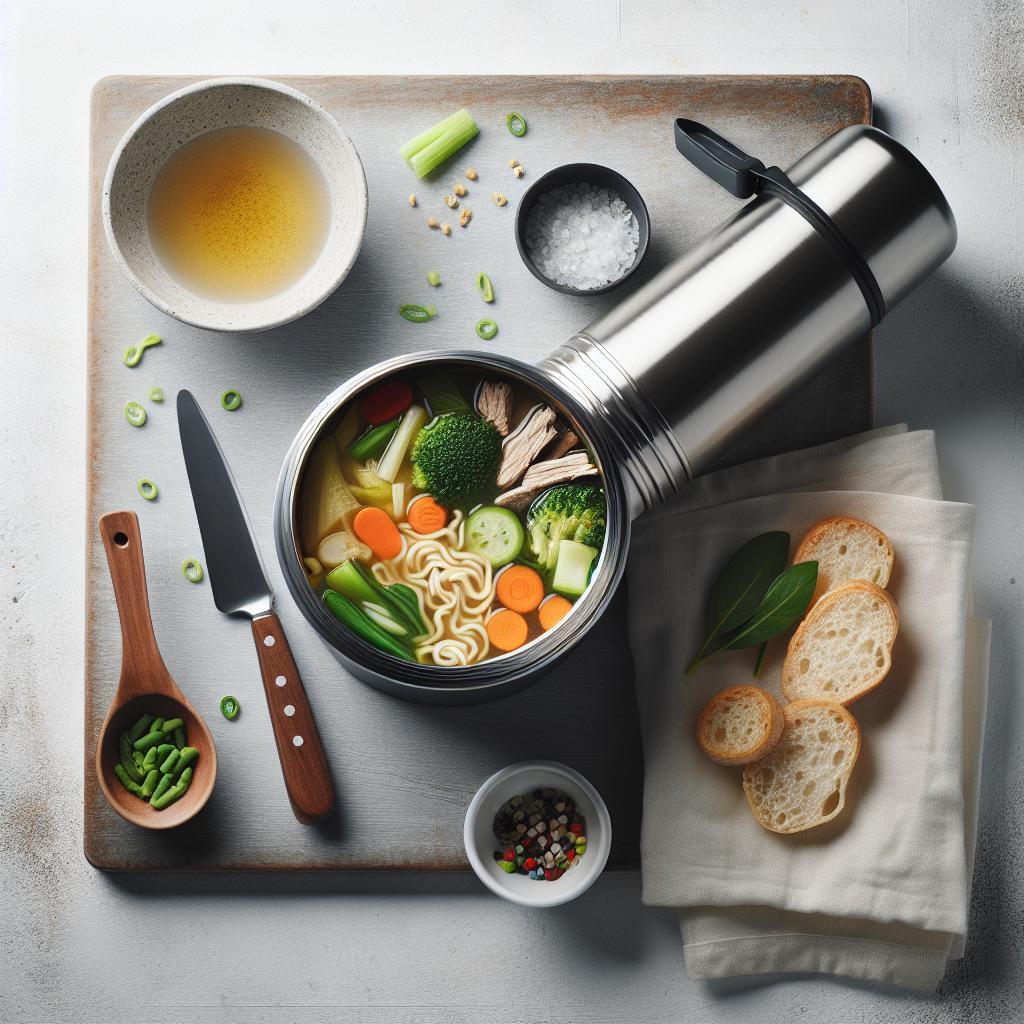
- Fill your thermos: Pre-warm the thermos by filling it with hot water for 5 minutes, then discard water and pour in your broth. Seal tightly to maintain heat.
Chef’s Notes
- Bone choice: Mix marrow bones with knuckles or oxtail for gelatin-rich broth that provides a velvety texture.
- Make-ahead tips: Broth stores well in the fridge for up to 5 days or freezes beautifully in portions.
- Clear vs. cloudy: Avoid boiling heavily after marrow is released to keep broth crystal clear.
- Thermos care: Use stainless steel thermoses with tight seals. Vacuum insulation holds temperature best for hours.
Serving Suggestions
Enjoy this portable broth as a midday pick-me-up or a gentle, hydrating start before a meal. For an elevated sip:
- Top with finely chopped fresh herbs like parsley, thyme, or chives directly in your thermos cup.
- Stir in a splash of fresh lemon juice or a few drops of tamari for bright umami notes.
- Add thinly sliced scallions or a pinch of crushed red pepper before sipping for a spicy kick.
- Pair with whole grain crackers or a small sandwich for a balanced light meal.
| Nutrient | Per 1 cup (240ml) serving |
|---|---|
| Calories | 90 |
| Protein | 10g |
| Carbohydrates | 1g |
| Fat | 4g |
Creative Flavor Boosters to Elevate Your Portable Broth Experience
Unlock endless flavor possibilities by infusing your thermos broth with nature’s finest enhancers. Consider adding grated fresh ginger for a zesty warmth that pairs beautifully with the deep savor of beef bones. A few drops of truffle oil or a sprinkle of dried porcini mushroom powder transport your warm sip into the realm of gourmet indulgence. For added nutrition, stir in a whisked egg for homemade egg-drop broth or a bit of turmeric for anti-inflammatory benefits. Remember, your thermos broth is your personal sanctuary-make it uniquely yours.
For more nourishing recipes and tips, explore our nutritious winter drinks collection or dive into expert advice from the Healthline bone broth article to deepen your understanding of broth’s health benefits.

Q&A
Q&A: Sip Warmth Anywhere: Crafting Simple Thermos Broth Basics
Q1: Why choose broth as the go-to thermos drink?
A1: Broth isn’t just warm liquid; it’s a savory hug in a cup. Packed with nourishing minerals and comforting flavors, broth hydrates and revitalizes you while on the move. Its simplicity makes it a perfect canvas to customize for any taste or dietary need.
Q2: What makes a thermos the ideal vessel for broth?
A2: A quality thermos is like a portable cauldron of warmth. It locks in heat for hours, maintaining the broth’s steaming goodness and aroma, so you can sip on comfort anytime, anywhere-whether hiking a trail or powering through a busy workday.
Q3: How simple is it to prepare broth for your thermos?
A3: Think minimal fuss, maximum flavor. Start with basic ingredients-water, bouillon cubes or powder, and a pinch of salt. Add herbs or a splash of soy sauce for depth. Bring to a boil, let it steep, then pour into your pre-warmed thermos. Done in under 10 minutes!
Q4: Can I make broth ahead of time for my thermos?
A4: Absolutely! Make a batch, strain it, and refrigerate. When ready, reheat and fill your thermos. Pro tip: preheat your thermos with boiling water before filling to keep your broth hot longer.
Q5: What are some creative twists to jazz up thermos broth?
A5: Experiment with flavors-toss in fresh ginger or garlic for zest, a squeeze of lime for brightness, or miso paste for umami richness. For texture, add soft-cooked veggies or small pasta shapes before sealing the thermos.
Q6: Any tips for enjoying broth on the go?
A6: Keep a clean spoon or reusable straw handy for sipping. If your thermos is leak-proof, you can even use it as a mini-lunchbox for broth-based soups. Remember to savor the quiet warmth, one sip at a time-your body and soul will thank you.
Q7: Who benefits most from carrying thermos broth?
A7: Everyone! From outdoor enthusiasts needing hydration and energy, to office workers craving a cozy break, or parents seeking nutritious snacks for kids. Broth’s versatility and warmth make it a universal companion in any lifestyle.
Sip warmth anywhere, and turn your thermos into a simple yet powerful vessel of comfort-one basic broth at a time!
Closing Remarks
As the chill of the day sets in or when you simply seek a moment of cozy comfort amidst the hustle, your homemade thermos broth stands ready-a warm hug in a cup, crafted with ease and care. By mastering these simple basics, you’re not just carrying nourishment; you’re bottling a portable sanctuary of flavor and wellness, wherever life’s journey takes you. So sip warmth anywhere, anytime, and let each comforting gulp remind you that sometimes, the simplest creations bring the richest moments of joy.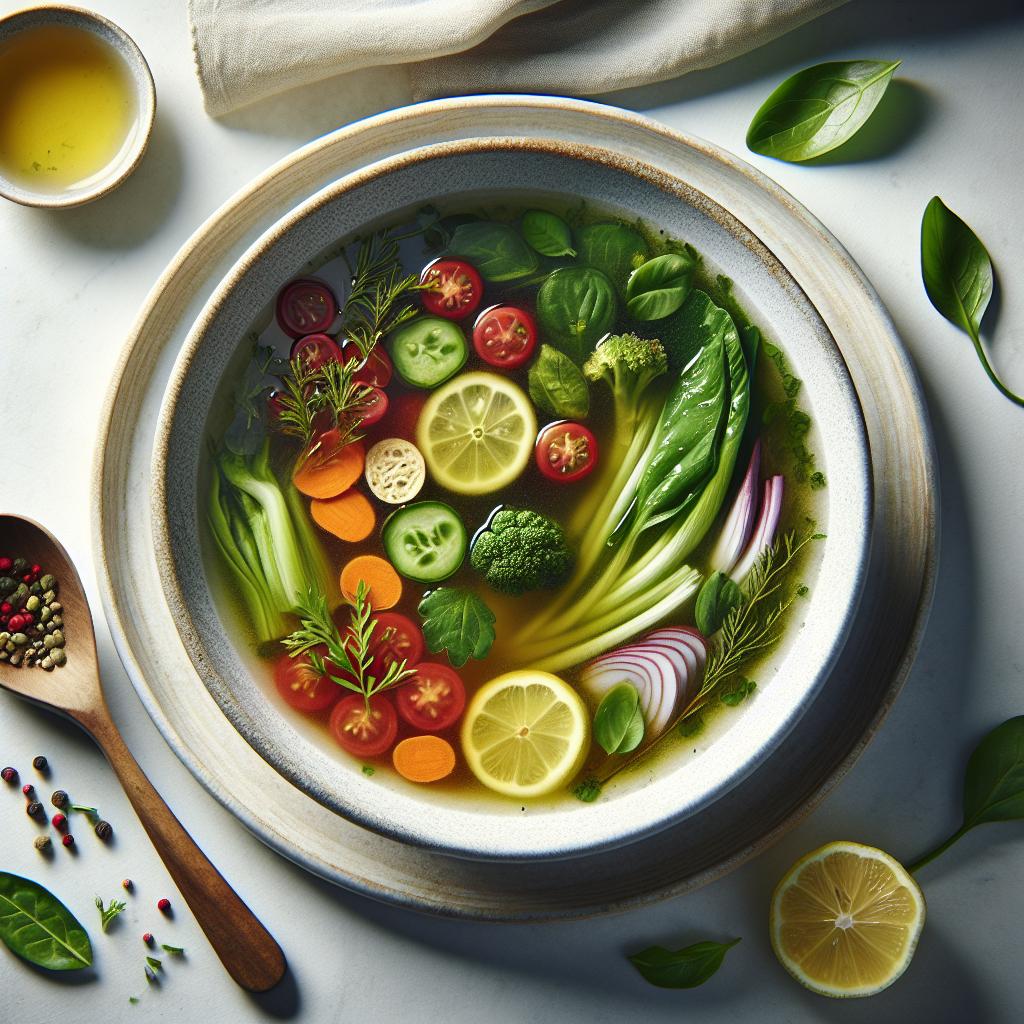


