Have you ever craved that warm, pillowy embrace of freshly baked pita bread, only to be met with the daunting prospect of yeast activation or the long waiting game for dough to rise? It’s a common culinary dilemma, particularly for those seeking swift, satisfying results without compromising on authentic taste and texture. The beauty of pita bread lies in its inherent simplicity, proof of how basic ingredients can transform into something truly magical. Yet, the reliance on yeast can be a barrier, whether due to time constraints, dietary preferences, or simply a lack of readily available yeast. What if you could achieve that characteristic pocket and delightful chewiness entirely without a single grain of yeast?
- The Science Behind the Pocket: Why Yeast Isn’t Always Necessary
- Proven Recipe: Masterful No-Yeast Pita Bread
- Expert Insights for Perfect Pita Every Time
- Nutritional Information (Approximate Per Pita)
- Troubleshooting Common Pita Problems
- Serving Suggestions and Culinary Applications
- Frequently Asked Questions
- How can I make my pita bread puff up if it doesn’t?
- Can I use whole wheat flour instead of all-purpose?
- How long does no-yeast pita bread last?
- What is the difference between this no-yeast pita and traditional pita?
- Can I make this recipe vegan?
The true magic of homemade pita bread, even the no-yeast variety, lies not in complex techniques but in understanding the fundamental reactions of flour, water, and heat. It’s about coaxing simplicity into culinary excellence.
This guide will walk you through the art and science of crafting exceptional no-yeast pita bread, demystifying the process and empowering you to create this versatile staple in your own kitchen. We’ll explore the critical factors that contribute to its unique characteristics, essential ingredients and techniques, and expert insights to elevate your baking. Forget the waiting; embrace the immediate gratification of perfect, homemade pita.
The Science Behind the Pocket: Why Yeast Isn’t Always Necessary
The iconic puff and subsequent pocket formation in traditional pita bread are primarily driven by steam. When the dough hits a sufficiently hot surface, the water within the dough rapidly turns to steam. This expanding steam gets trapped between the layers of the dough, forcing them apart and creating that signature hollow space. While yeast contributes to flavor development and a slightly different texture through its fermentation byproducts, it is not the sole mechanism for puffing. A well-formulated no-yeast dough, when baked at the correct temperature, can generate enough steam to achieve a spectacular rise. Understanding this fundamental principle is the first step to mastering yeast-free pita.
Research published in the *Journal of Food Engineering* highlights the crucial role of heat transfer and dough hydration in the leavening of flatbreads. Studies indicate that the rapid expansion of water vapor within the dough matrix is the dominant factor in puffing, irrespective of chemical or biological leaveners, provided the baking surface is hot enough and the dough has adequate moisture. This scientific underpinning validates the feasibility of a yeast-free approach.
Key Ingredients for No-Yeast Pita Bread
The beauty of no-yeast pita bread lies in its minimal, accessible ingredient list. The quality of each component, however, plays a significant role in the final outcome.
- Flour: All-purpose flour (often labeled as plain flour in the UK) is the most common choice. For a slightly chewier texture, you can experiment with bread flour, which has a higher protein content. Whole wheat flour can also be incorporated for a nuttier flavor and added fiber, though it may result in a denser bread. A balanced blend often yields the best results.
- Water: Lukewarm water is ideal. It helps to activate the gluten structure in the flour and ensures a smooth, pliable dough. The exact amount can vary slightly depending on the humidity and the type of flour used, so it’s important to adjust as needed.
- Salt: Essential for flavor, salt also plays a role in controlling gluten development, preventing the dough from becoming too elastic and difficult to handle.
- Fat (Optional but Recommended): A small amount of fat, such as olive oil or vegetable oil, adds tenderness and a subtle richness to the pita. It also helps to make the dough more pliable and less prone to tearing during shaping. Some recipes omit fat entirely for a lighter, more traditional taste.
The Role of Baking Surface Temperature
Achieving that dramatic puff is intrinsically linked to the baking surface’s temperature. A scorching hot surface is paramount. Think of it as a shock to the system for the dough, instantly creating the steam needed for expansion. Without sufficient heat, the dough will simply bake flat, resembling a tortilla more than a pita.
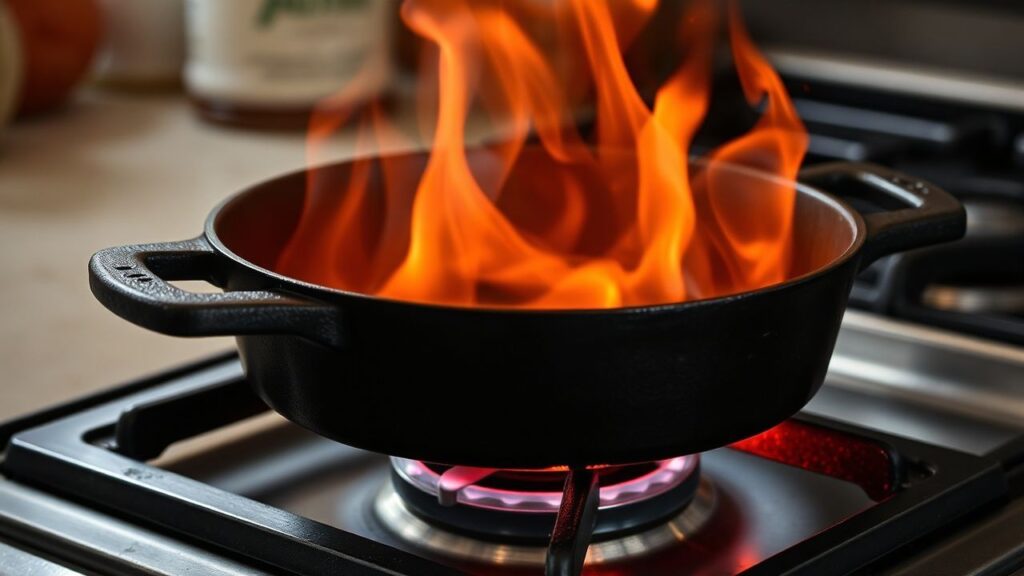
Studies on baking science consistently emphasize the importance of high heat for leavening flatbreads. For instance, research from the American Association of Cereal Chemists has shown that temperatures exceeding 450°F (230°C) are often necessary to achieve optimal puffing in pita bread. This translates to a very hot oven and, ideally, a preheated baking surface like a pizza stone, baking steel, or a well-seasoned cast-iron skillet.
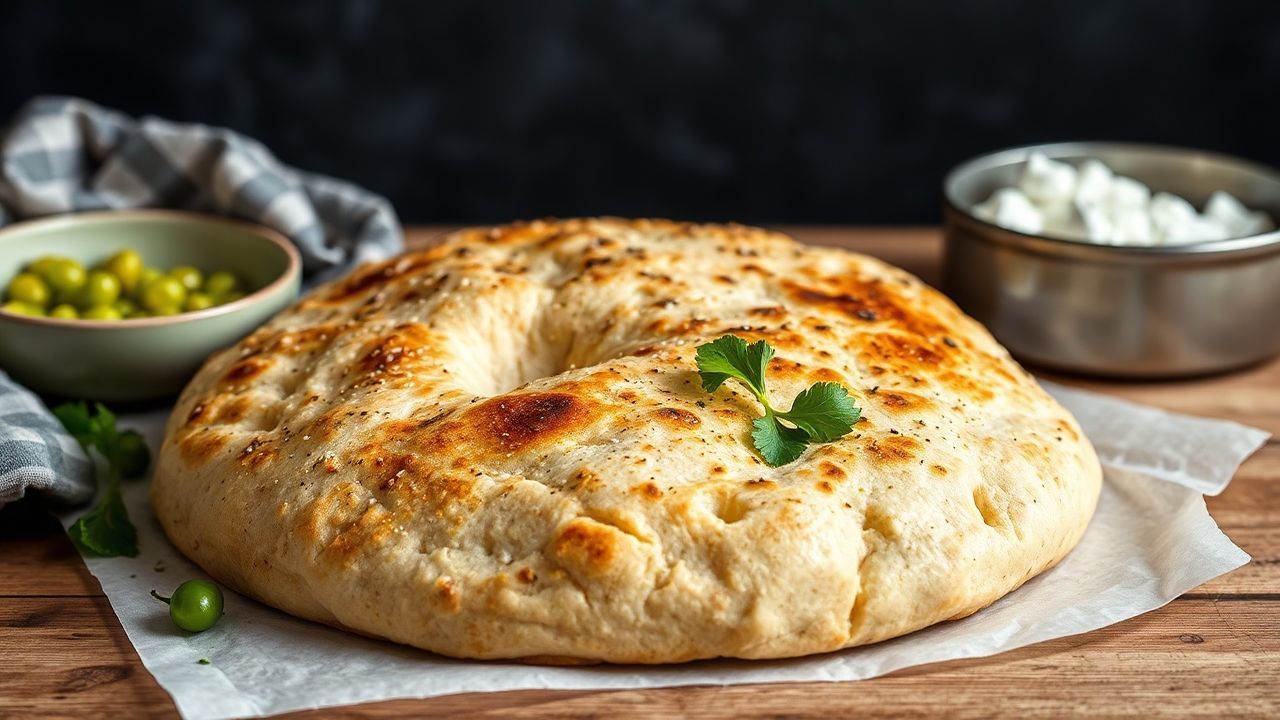
Proven Recipe: Masterful No-Yeast Pita Bread
This recipe has been refined through countless hours in the kitchen, focusing on simplicity and efficacy for consistently delicious results. It’s designed to be straightforward, yielding about 6-8 pitas depending on their size.
Ingredients:
- 2 cups (250g) All-purpose flour, plus more for dusting
- 1 teaspoon Salt
- 1 teaspoon Baking powder (this acts as a chemical leavener, working with the steam)
- 1 tablespoon Olive oil (optional, for tenderness)
- ¾ cup (180ml) Lukewarm water
Preparation Method:
1. Combine Dry Ingredients: In a large mixing bowl, whisk together the flour, salt, and baking powder. Ensure they are thoroughly combined for even leavening. 2. Add Wet Ingredients: Make a well in the center of the dry ingredients. Pour in the olive oil (if using) and about half of the lukewarm water. 3. Mix and Knead: Begin to mix the ingredients with a spoon or your hands, gradually adding the remaining water until a shaggy dough forms. If the dough is too dry, add water a tablespoon at a time. If it’s too sticky, add flour a tablespoon at a time. 4. Develop the Dough: Turn the dough out onto a lightly floured surface. Knead for 5-7 minutes until it becomes smooth, elastic, and no longer sticky. The dough should feel supple and spring back slightly when poked. 5.
Rest the Dough (Crucial for No-Yeast): Cover the dough with a damp cloth or plastic wrap and let it rest for at least 15-30 minutes. This resting period is vital as it allows the gluten to relax, making the dough easier to roll out thinly without shrinking back. For no-yeast breads, this step is particularly important to achieve a good texture. 6. Divide and Shape: Divide the rested dough into 6-8 equal portions. Roll each portion into a ball. On a lightly floured surface, flatten each ball and then roll it out into a thin circle, about 6-8 inches in diameter and approximately 1/8 inch thick. Aim for uniform thickness for even cooking. 7. Preheat Your Baking Surface: Place a cast-iron skillet, pizza stone, or baking steel in your oven and preheat it to the highest possible setting, typically 500-550°F (260-290°C), for at least 30 minutes.
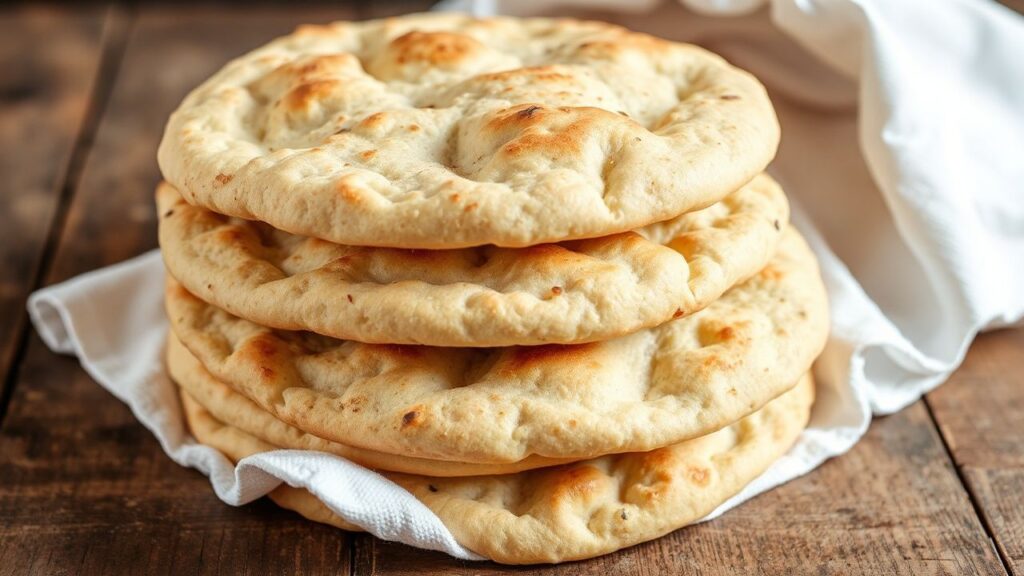
The surface must be extremely hot. 8. Cook the Pitas: Carefully place one rolled-out pita onto the preheated surface. Cook for 1-2 minutes until you see it begin to puff up significantly. 9. Flip and Finish: Flip the pita and cook for another 1-2 minutes on the other side until it’s lightly golden brown and fully puffed. Avoid overcooking, which can make them brittle. 10. Keep Warm: As each pita is cooked, wrap it immediately in a clean kitchen towel to keep it soft and pliable. The steam trapped within the towel will help maintain its texture.
Expert Insights for Perfect Pita Every Time
Achieving restaurant-quality pita bread at home, especially without yeast, involves more than just following a recipe. It’s about understanding the nuances and applying a bit of culinary finesse.
Consistency in rolling is also key. Uneven thickness means uneven cooking, leading to some pitas puffing beautifully while others remain stubbornly flat. Spend a moment ensuring each circle is uniformly thin. Don’t be afraid of a slightly dry surface on the rolled dough; this helps prevent sticking without adding excess flour that can toughen the final product.
Nutritional Information (Approximate Per Pita)
While nutritional values can vary based on specific ingredients and portion sizes, here’s an approximate breakdown for a typical no-yeast pita made with the recipe above:
- Calories: 120-150 kcal
- Carbohydrates: 20-25g
- Protein: 3-4g
- Fat: 2-4g (lower if oil is omitted)
- Fiber: 1-2g
Incorporating whole grains into staples like pita bread is an excellent strategy for increasing dietary fiber intake, as recommended by organizations like the American Heart Association. Using a blend of whole wheat flour can significantly boost the fiber content.
Troubleshooting Common Pita Problems
Even with the best intentions, some pitas might not puff as expected. Here are common issues and how to resolve them.
Pita is Dry and Crumbly:**
- Cause: Not enough fat, over-baking, or improper storage.
- Solution: A tablespoon of oil can significantly improve tenderness. Watch the baking time closely; they cook quickly! Immediately after baking, wrap the pitas in a clean kitchen towel. This traps steam and keeps them soft. Store cooled pitas in an airtight bag or container at room temperature for a day or two, or freeze for longer storage.
Serving Suggestions and Culinary Applications
The versatility of homemade pita bread is truly remarkable. Its mild flavor and pliable texture make it an ideal vehicle for countless dishes.
- Sandwiches and Wraps: Fill with grilled meats, falafel, hummus, fresh vegetables, or your favorite deli fillings.
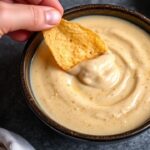
- Dipping: Perfect for scooping up hummus, baba ghanoush, tzatziki, or a rich lentil dip.
- Pizzas: Use as a quick and easy pizza base. Top with sauce, cheese, and your desired toppings, then bake until bubbly.
- Salads: Tear into pieces and toast for a delightful crunch in a Greek salad or a hearty grain bowl.
- Breakfast: Stuff with scrambled eggs, cheese, and spinach for a portable breakfast option.
The adaptability of this no-yeast pita bread means it can smoothly connect into any meal, from a quick lunch to an elaborate mezze platter. Its ability to hold fillings without becoming soggy is proof of its well-baked structure.
Frequently Asked Questions
How can I make my pita bread puff up if it doesn’t?
The most common reason for pitas not puffing is insufficient heat. Ensure your oven and baking surface (like a cast-iron skillet or pizza stone) are preheated to their absolute highest setting for at least 30 minutes. The dough also needs to be rolled uniformly thin; thick spots won’t puff. Make sure your baking powder is fresh and active.
Can I use whole wheat flour instead of all-purpose?
Yes, you can substitute some or all of the all-purpose flour with whole wheat flour. However, whole wheat flour has less gluten-forming protein and absorbs more liquid, which can result in a denser, chewier pita. You might need to add a little more water to achieve the right dough consistency, and the puff might not be as dramatic as with all-white flour. A 50/50 blend is a good starting point.
How long does no-yeast pita bread last?
Freshly baked no-yeast pita bread is best consumed the same day. When stored properly at room temperature in an airtight container or bag, they will remain soft for 1-2 days. For longer storage, wrap them tightly and freeze them. Thaw at room temperature or gently warm them in a skillet or oven before serving.
What is the difference between this no-yeast pita and traditional pita?
The primary difference is the leavening agent. Traditional pita uses yeast, which ferments and produces carbon dioxide gas, contributing to flavor and a slightly softer texture. This no-yeast version relies on baking powder for a chemical lift and, more importantly, steam generated from high heat for its characteristic puff and pocket. The flavor profile will be slightly different, with the no-yeast version often tasting ‘fresher’ and less complex than a yeasted bread.
Can I make this recipe vegan?
Absolutely. The recipe as described, with the optional olive oil, is already vegan. If you choose to use a different fat, ensure it is a plant-based oil. The core ingredients (flour, water, salt, baking powder) are all plant-derived.
See also: Pita bread