{
“title”: “Crafting Perfect Pizza Dough: Your 10-Step Scratch Guide to Pizzeria Quality”,
“content”: “
- Crafting Perfect Pizza Dough: Your Ultimate Scratch Guide
- Choosing the Finest Ingredients for Exceptional Dough
- Mastering the Art of Kneading for Ideal Texture
- make the most of Fermentation and Proofing
- Baking Techniques to Achieve Crispy Thin or Fluffy Thick Crusts
- Q&A
- Q1: Why is making pizza dough from scratch better than using store-bought dough?
- Q2: What are the basic ingredients for perfect pizza dough?
- Q3: How do I know if my yeast is active?
- Q4: What’s the secret to kneading dough perfectly?
- Q5: How long should pizza dough rise?
- Q6: Can I use whole wheat or gluten-free flour?
- Q7: How thin or thick should I roll out my dough?
- Q8: What baking tips can ensure a crispy crust?
- Q9: How do I store leftover dough?
- Q10: Any final pro tips for scratch pizza dough perfection?
- In Retrospect
Crafting Perfect Pizza Dough: Your Ultimate Scratch Guide
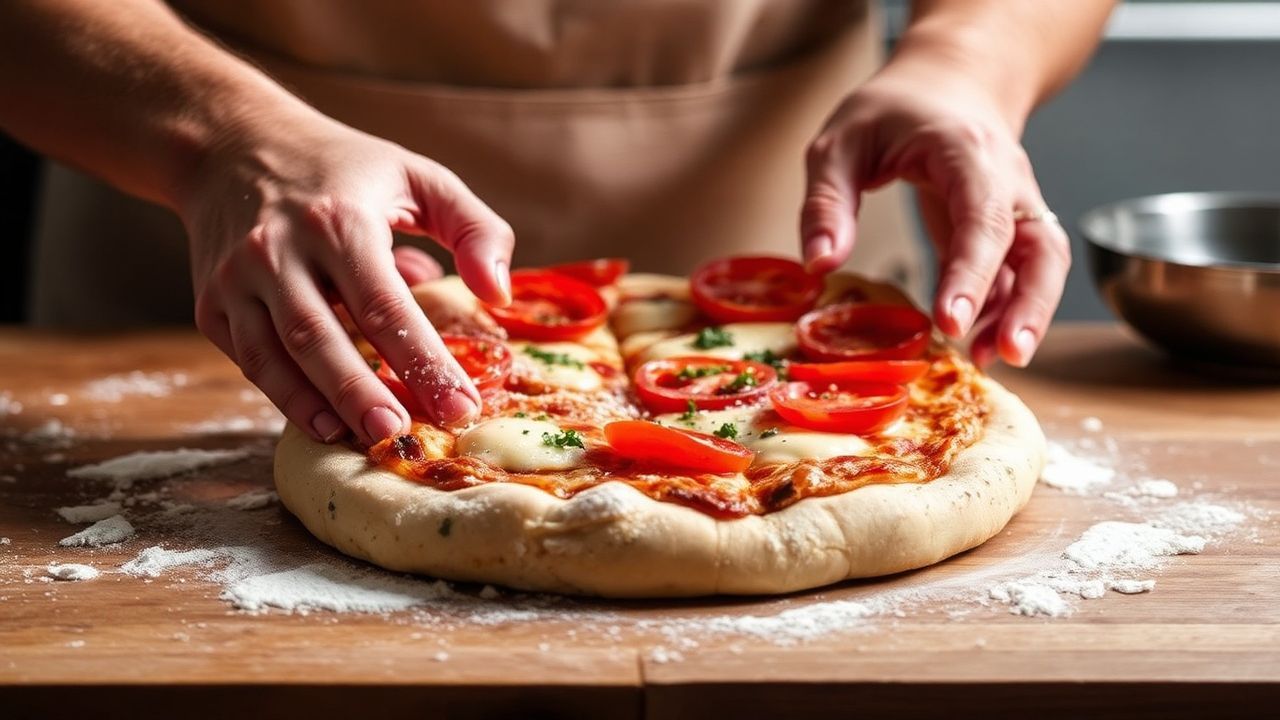
There’s an undeniable satisfaction in creating pizza dough from scratch. It’s the foundation of every truly memorable pie, offering a delightful chew and crispness that store-bought alternatives rarely match. Mastering this fundamental skill transforms your kitchen into a personal pizzeria, elevating every pizza night into a culinary event. This comprehensive guide demystifies the process, breaking down the science and providing step-by-step instructions to achieve a glorious canvas for your favorite toppings. Prepare to unlock the secrets to unforgettable pizza.
Key Takeaways:
- High-protein bread flour is essential for elasticity and chew.
- Proper kneading develops gluten for structure and texture.
- Fermentation (proofing) is crucial for flavor development and rise.
- Baking temperature and surface significantly impact crust crispiness.
Choosing the Finest Ingredients for Exceptional Dough
The quality of your pizza dough hinges on the ingredients you select. For that signature elasticity and satisfying chew, opt for high-protein bread flour. This specialized flour contains more gluten-forming proteins, crucial for developing a strong dough structure that can withstand stretching and baking.
Fresh, active yeast is the engine of your dough’s rise and flavor. Ensure it’s well within its expiry date. A pinch of fine sea salt doesn’t just add flavor; it controls yeast activity and strengthens gluten. Finally, extra virgin olive oil contributes richness, tenderness, and a subtle fruity note to the dough.
Prep and Cook Time
- Preparation: 15 minutes
- Kneading & Fermentation: 2 to 24 hours (depending on proofing method)
- Baking: 10-15 minutes
- Total Time: Approximately 3 hours (with conventional fermentation) or up to 26 hours for cold fermentation
Yield
Makes 2 large 12-inch pizzas (4 servings)
Difficulty Level
Medium – Requires patience and hands-on technique but very rewarding
Ingredients
- 3 ½ cups bread flour, sifted and leveled
- 1 ¼ cups lukewarm filtered water (~105°F/40°C)
- 2 tsp active dry yeast or instant yeast
- 2 tbsp extra virgin olive oil
- 1 ½ tsp fine sea salt
- 1 tsp sugar (to feed the yeast and enhance browning)
Mastering the Art of Kneading for Ideal Texture
Kneading is where the magic truly happens, transforming a sticky mess into a smooth, pliable dough. This process develops the gluten network, which is responsible for the dough’s characteristic stretch and airy texture. Start by gently activating your yeast. Combine the yeast, sugar, and lukewarm water in a small bowl. Let it sit for 5-10 minutes until it becomes visibly foamy, indicating the yeast is alive and ready.
In a large mixing bowl, whisk together the sifted bread flour and fine sea salt. This ensures even distribution of the salt, which matter significantly in controlling yeast activity. Pour the activated yeast mixture and the extra virgin olive oil into the bowl with the dry ingredients. Stir with a wooden spoon or spatula until a shaggy dough begins to form, incorporating most of the flour.
Transfer this shaggy dough to a lightly floured surface. Begin kneading with a gentle yet firm technique. Fold the dough over onto itself, then press down and away with the heel of your hand. Rotate the dough a quarter turn and repeat. This rhythmic motion builds the gluten structure.
Continue kneading for approximately 8-10 minutes. You’re looking for a dough that is smooth, elastic, and springs back slowly when gently pressed. A slightly tacky feel is desirable, as it indicates sufficient hydration for a tender crust. Avoid adding excessive flour during this stage, as it can lead to a tough, dry dough.
The science behind kneading involves the development of gluten proteins, primarily glutenin and gliadin. When hydrated and worked, these proteins form a complex, three-dimensional network. This network traps gases produced by the yeast during fermentation, allowing the dough to rise and creating the characteristic porous structure of well-made bread and pizza crusts. Understanding this process helps appreciate the importance of proper kneading technique.
make the most of Fermentation and Proofing
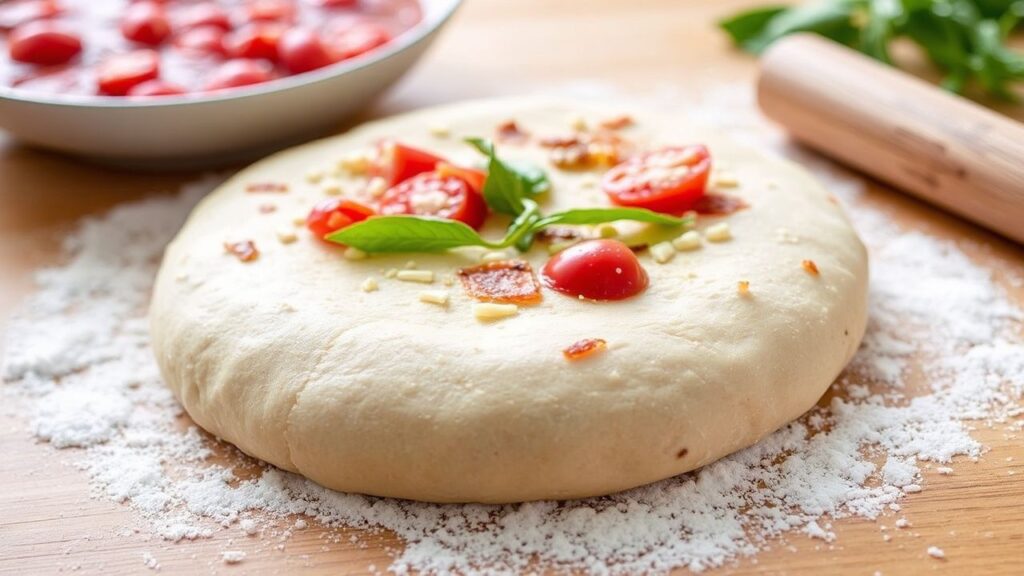
Fermentation is where your dough develops its complex flavors and achieves its signature rise. Once kneaded, shape the dough into a smooth ball. Place it in a lightly oiled bowl, ensuring the entire surface is coated to prevent drying. Cover the bowl tightly with plastic wrap or a damp kitchen towel.
For a quicker result, allow the dough to proof at room temperature for 1.5 to 2 hours, or until it has doubled in size. This method yields a good flavor and texture. However, for a more profound flavor and a more tender, digestible crumb, consider cold fermentation. Place the covered bowl in the refrigerator for 12 to 24 hours, or even up to 72 hours.
Cold fermentation allows enzymes to break down starches into sugars, feeding the yeast and developing complex flavor compounds. This slow, controlled process significantly enhances the aroma and taste of your pizza crust. It also makes the dough easier to handle and shape.
After the primary fermentation, gently deflate the dough by pressing down on it. If you are making multiple pizzas, divide the dough into equal portions at this stage. Allow the divided dough balls to rest, covered, for another 15-30 minutes. This resting period relaxes the gluten, making the dough much easier to stretch without tearing.
The amount of time the dough needs to proof is influenced by several factors, including room temperature, the type and amount of yeast used, and the hydration level of the dough. Warmer environments speed up fermentation, while cooler temperatures slow it down. Understanding these variables allows for better control over the final outcome.
Baking Techniques to Achieve Crispy Thin or Fluffy Thick Crusts
The final stage of crafting perfect pizza dough is the bake. The method you employ will dictate the texture of your crust. For a classic Neapolitan-style, crispy thin crust, preheat your oven to its highest setting (500-550°F / 260-290°C) with a pizza stone or steel inside for at least 30-60 minutes. This intense heat mimics a wood-fired oven, rapidly cooking the bottom of the crust.
Stretch or roll your dough as thinly as possible and carefully transfer it to the preheated stone or steel. The high heat will quickly crisp the base while creating an airy, slightly charred edge. The total baking time for a thin crust is typically short, often between 8-12 minutes.
If you prefer a fluffier, thicker crust, a different approach is needed. After shaping your dough, allow it to undergo a second proof (often called “proofing the pie”). This allows more air pockets to form within the dough, leading to a lighter, chewier texture. Bake this thicker dough on a pizza pan, cast iron skillet, or even directly on the oven rack.
For an exceptionally tender and golden thick crust, consider a light mist of water during the first two minutes of baking. This creates steam within the oven, which helps the crust expand and develop a soft interior before it fully crisps. This technique, often used in artisanal bread baking, translates beautifully to pizza.
Regardless of your preferred crust style, ensure your toppings are added just before baking. Overloading the pizza can lead to a soggy crust, as the moisture from the toppings can seep into the dough. Aim for a balance that allows the crust to shine.
The ideal baking temperature for pizza is a subject of much debate, but generally, higher is better for achieving that desirable crispness. A properly preheated oven and baking surface are non-negotiable for a successful bake. This ensures the dough receives an immediate thermal shock, promoting rapid expansion and crisping.
Instructions
- Bloom the yeast: In a small bowl, combine yeast, sugar, and lukewarm water (~105°F/40°C). Stir gently and set aside for 5-10 minutes until it becomes foamy.
- Mix dry ingredients: In a large mixing bowl, whisk together bread flour and sea salt.
- Combine and knead: Pour the yeast mixture and olive oil into the flour. Stir with a wooden spoon until a shaggy dough forms, then transfer to a floured surface.
- Knead thoroughly: Knead the dough for 8-10 minutes until smooth, elastic, and slightly tacky. Use the heel of your hand to push and fold the dough, rotating as you go.
- First proof: Shape dough into a ball and place in an oiled bowl. Cover with a damp towel or plastic wrap and let rise for 1.5-2 hours at room temperature or refrigerate for 12-24 hours for a cold ferment.
- Divide and rest: Gently punch down dough, divide it into two balls, and rest for 15-30 minutes to relax gluten.
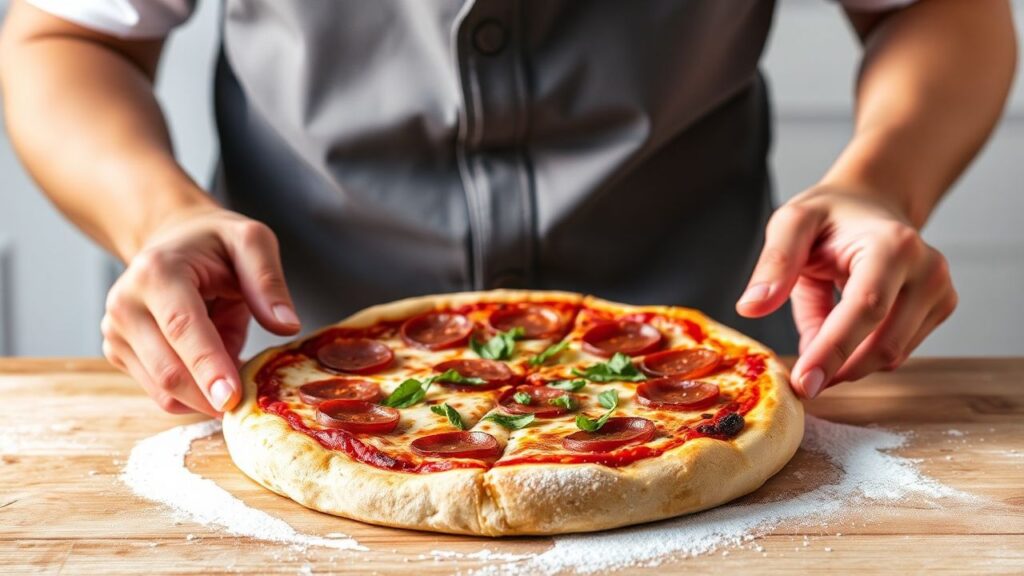
- Shape your crust: Stretch or roll the dough to your preferred thickness. For thin crust, make it very thin; for thicker crust, keep the dough slightly thick and allow a second proof for 20 minutes.
- Bake: Preheat oven and pizza stone/steel to 500-550°F (260-290°C). Transfer dough to baking surface. Bake for 10-15 minutes until crust edges are golden and cheese or toppings are bubbling.
- Serve immediately: Garnish with fresh basil, a drizzle of olive oil, or a sprinkle of crushed red pepper flakes for enhanced flavor.
Tips for Success
- Flour varieties: For an even chewier dough, mix bread flour with a small ratio (up to 20%) of Italian “00” flour.
- Yeast alternatives: Instant yeast can be mixed directly into flour, skipping the bloom step.
- Make-ahead: Prepare dough a day ahead and refrigerate; bring to room temp before shaping.
- Hydration levels: Adjust water slightly based on flour absorption; dough should feel resilient yet a bit tacky.
- Troubleshooting: If dough is too sticky to handle, dust lightly but avoid excess flour that toughens crust.
Serving Suggestions
Once your masterpiece is baked, add a final flourish. Fresh basil leaves, a drizzle of cold-pressed olive oil, or a pinch of sea salt can elevate the flavor profile. Pair your homemade pizza with a crisp arugula salad tossed in a lemon vinaigrette for a refreshing contrast.
For wine enthusiasts, a medium-bodied Chianti complements the richness of the pizza beautifully. Alternatively, a sparkling Prosecco offers a delightful effervescence that cuts through the flavors, making each bite refreshing. These pairings enhance the overall dining experience.
| Nutrient | Per Serving |
|---|---|
| Calories | 280 kcal |
| Protein | 9 g |
| Carbohydrates | 48 g |
| Fat | 6 g |
For more on crafting the perfect pizza, explore our Homemade Pizza Sauce Guide. To explore into the science behind dough, the science of dough offers fascinating insights.
Q&A
Q1: Why is making pizza dough from scratch better than using store-bought dough?
Making dough from scratch offers unparalleled control over flavor, texture, and thickness. It’s a rewarding process that imbues your pizza with a personal touch, a connection to an age-old craft that pre-made dough simply cannot replicate.
Q2: What are the basic ingredients for perfect pizza dough?
The essential ingredients are flour, water, yeast, and salt. Many recipes also include olive oil or a touch of sugar to enhance flavor and texture, but simplicity is key to a great dough base. High-quality ingredients are paramount.
Q3: How do I know if my yeast is active?
Activate your yeast by mixing it with warm water (around 105°F/40°C) and a pinch of sugar. Let it sit for 5-10 minutes. If it becomes foamy and bubbly, it’s active and ready to work its magic. No bubbles indicate the yeast is likely dead and needs replacing.
Q4: What’s the secret to kneading dough perfectly?
Kneading develops gluten, the stretchy network that gives your crust structure and chew. Use the heel of your hand to press and fold the dough rhythmically for about 8-10 minutes. The dough should transform into a smooth, elastic, and slightly tacky consistency.
Q5: How long should pizza dough rise?
Allow the dough to rise for 1-2 hours at room temperature until doubled. For superior flavor and texture, try a slow fermentation by refrigerating the dough overnight or up to 72 hours. This cold chill significantly deepens flavor layers.
Q6: Can I use whole wheat or gluten-free flour?
Yes, you can! Whole wheat flour adds a nutty flavor and heartier texture, but it may require more hydration. Gluten-free flours need specific blends and binders to achieve the right elasticity, often requiring experimentation.
Q7: How thin or thick should I roll out my dough?
This depends on your desired crust style. For thin crust, roll or stretch the dough very thinly. For a thicker, chewier crust, leave it slightly thicker and consider a second proofing stage for a pillowy texture.
Q8: What baking tips can ensure a crispy crust?
Preheat your oven as hot as possible (450-500°F / 230-260°C) with a pizza stone or steel inside. This mimics a hearth oven’s searing heat, ensuring a crispy underside. Avoid overloading toppings, which can lead to sogginess.
Q9: How do I store leftover dough?
Coat the dough lightly with oil, place it in an airtight container or bag, and refrigerate for up to 3 days. For longer storage, freeze portions for up to 3 months, thawing slowly in the refrigerator.
Q10: Any final pro tips for scratch pizza dough perfection?
Respect the process: time, temperature, and technique are crucial. Get hands-on; pizza dough is tactile art. Embrace imperfections, as they tell your pizza’s unique story. Most importantly, have fun; joy and passion are the secret ingredients.
In Retrospect
As you pull your perfectly risen dough from the mixing bowl, remember that crafting great pizza dough is a blend of art and science. It’s a meticulous dance between precise measurements and an intuitive feel. With patience, practice, and the techniques outlined here, you’re not just making dough; you’re creating the foundation for countless delicious homemade pizza adventures.
So, roll up your sleeves, let the yeast perform its magic, and prepare to savor the rewards of your scratch-made masterpiece. Your ultimate pizza journey begins with that perfect, homemade crust.
“,
“meta_description”: “Master crafting perfect pizza dough from scratch with our ultimate guide. Learn ingredients, kneading, proofing, and baking for pizzeria-quality crusts.”,
“focus_keyword”: “pizza dough”
}

